
Follow Me On Social Media!

Ultimate Chili Cheese Fries Recipe – Loaded Comfort Food at Home.
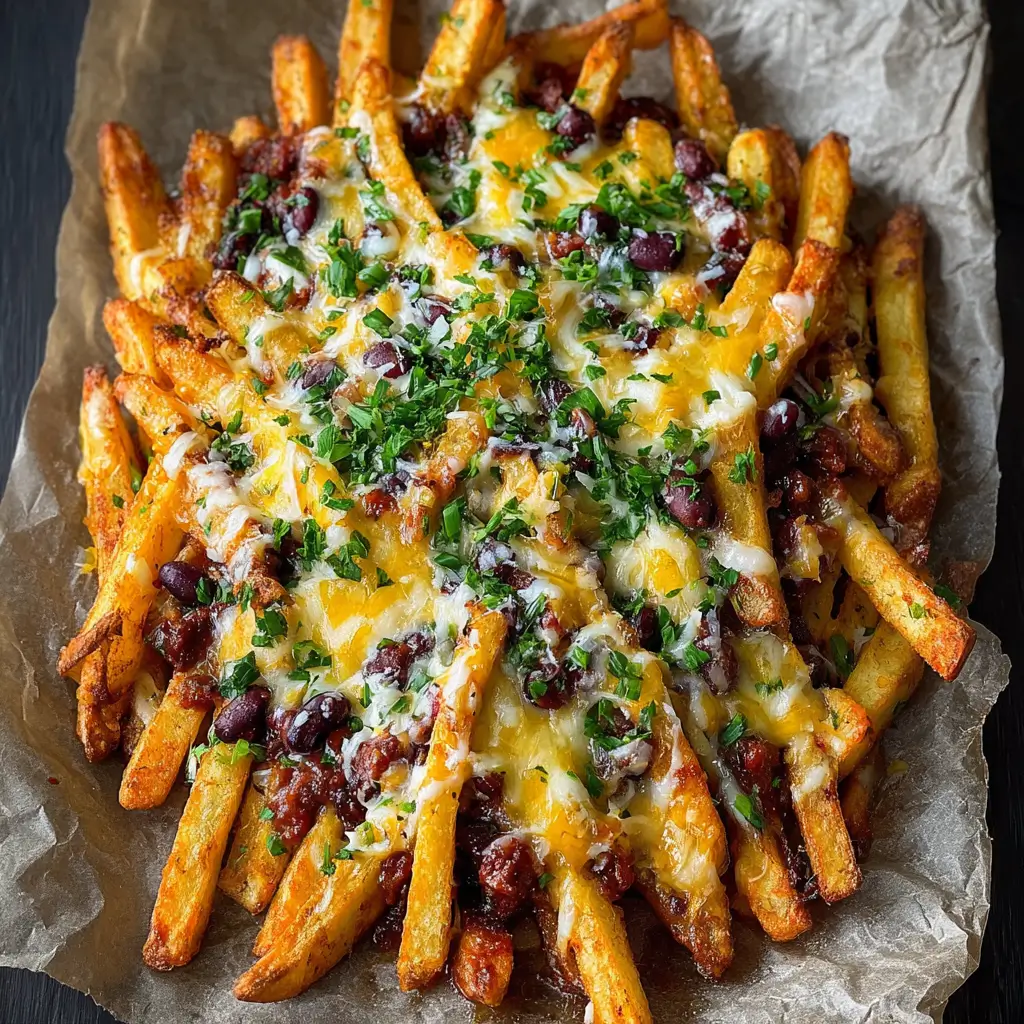
There’s something magical about the combination of crispy fries, hearty chili, and melted cheese that turns a simple side dish into the ultimate comfort food experience. I first fell in love with chili cheese fries during late-night diners runs in college, where they served as the perfect remedy for everything from study stress to celebration fuel. Over the years, I’ve perfected this homemade version that captures all that nostalgic satisfaction while giving you complete control over every layer of flavor.
What makes these chili cheese fries special isn’t just the obvious appeal of three beloved foods coming together. It’s about creating the perfect balance – fries that stay crispy even under their hearty toppings, chili that’s rich without being too heavy, and cheese that melts into every crevice without overwhelming the other flavors. This recipe delivers restaurant-quality results in your own kitchen, and once you master the technique, you’ll never want to order them out again.
The beauty of homemade chili cheese fries lies in customization. You can adjust the spice level, choose your preferred cheese blend, and even make components ahead of time for easy assembly when hunger strikes. Whether you’re feeding a crowd during game day or treating yourself to an elevated comfort food dinner, these loaded fries deliver satisfaction in every bite.
Ingredients
For the Fries:
- 2 pounds russet potatoes, cut into 1/2-inch thick fries
- 3 tablespoons vegetable oil (or enough for deep frying)
- 1 teaspoon salt
- 1/2 teaspoon garlic powder
- 1/4 teaspoon paprika
For the Chili:
- 1 pound ground beef (80/20 blend)
- 1 medium yellow onion, diced
- 3 cloves garlic, minced
- 1 bell pepper, diced (any color)
- 2 tablespoons chili powder
- 1 tablespoon cumin
- 1 teaspoon smoked paprika
- 1/2 teaspoon oregano
- 1/4 teaspoon cayenne pepper (adjust to taste)
- 1 can (14.5 oz) diced tomatoes
- 1 can (15 oz) kidney beans, drained and rinsed
- 1 can (6 oz) tomato paste
- 1 cup beef broth
- 1 teaspoon salt
- 1/2 teaspoon black pepper
- 1 tablespoon brown sugar
For Assembly:
- 2 cups sharp cheddar cheese, shredded
- 1 cup Monterey Jack cheese, shredded
- 3 green onions, thinly sliced
- 1/2 cup sour cream
- 2 tablespoons fresh cilantro, chopped (optional)
Instructions
Start by preparing your chili, as it benefits from simmering time and can be made while your fries cook. Heat a large, heavy-bottomed pot or Dutch oven over medium-high heat. Add the ground beef and cook, breaking it apart with a wooden spoon, until browned and cooked through, about 6-8 minutes. The key here is to let the meat develop some caramelization rather than just cooking it through – this adds depth to your chili’s flavor foundation.
Add the diced onion and bell pepper to the pot with the beef. Cook for 4-5 minutes until the vegetables begin to soften. Stir in the minced garlic and cook for another minute until fragrant. Push the mixture to one side of the pot and add the tomato paste to the empty space. Let it cook undisturbed for about a minute to develop its flavor, then stir it into the meat and vegetables.
Sprinkle in all your spices – chili powder, cumin, smoked paprika, oregano, and cayenne. Toast them with the meat mixture for about 30 seconds until aromatic. This step awakens the spices and prevents them from tasting raw in the finished dish. Add the diced tomatoes, kidney beans, beef broth, salt, pepper, and brown sugar. The brown sugar balances the acidity from the tomatoes and adds a subtle richness.
Bring the mixture to a boil, then reduce heat to low and let it simmer partially covered for 25-30 minutes, stirring occasionally. The chili should thicken and develop a rich, deep flavor. If it becomes too thick, add a splash more broth; if it’s too thin, simmer uncovered for the last 10 minutes to reduce excess liquid.
While your chili simmers, prepare the fries. If you’re deep frying, heat oil to 350°F in a heavy pot or deep fryer. For oven-baked fries, preheat your oven to 450°F. Cut your potatoes into uniform fries and soak them in cold water for 30 minutes to remove excess starch – this helps achieve crispier results.
Pat the potatoes completely dry with clean kitchen towels. For deep-fried fries, work in batches to avoid overcrowding. Fry for 3-4 minutes for the first round, then remove and drain on paper towels. This double-fry method ensures the perfect crispy exterior. After all fries have had their first fry, increase oil temperature to 375°F and fry again for 2-3 minutes until golden brown and crispy.
For oven fries, toss the dried potato strips with vegetable oil, salt, garlic powder, and paprika. Arrange in a single layer on two large baking sheets, making sure not to overcrowd. Bake for 25-30 minutes, flipping halfway through, until golden and crispy on the outside.
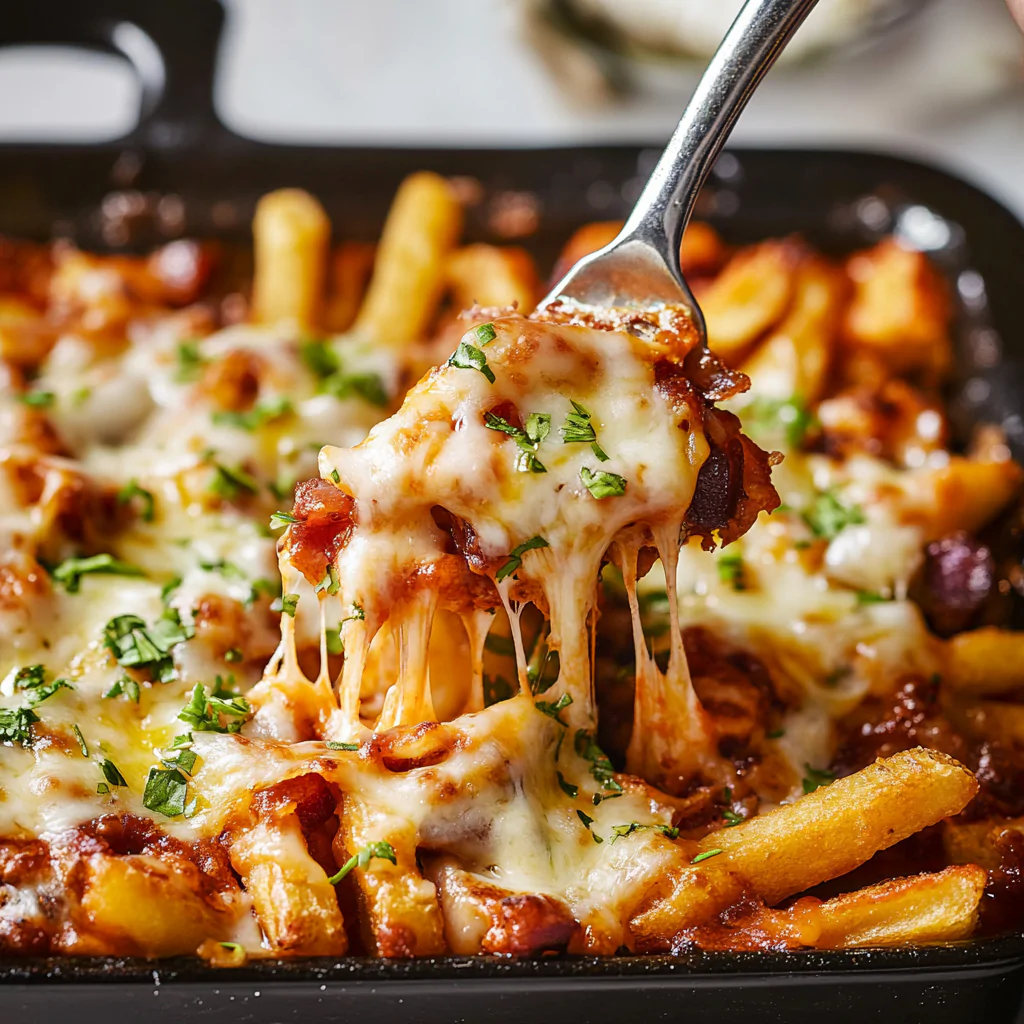
Now comes the fun part – assembly. Preheat your oven to 425°F if it’s not already hot. Arrange your hot fries on a large oven-safe platter or cast-iron skillet. Ladle the warm chili over the fries, making sure to distribute it evenly but leaving some fries visible around the edges. Sprinkle the mixed cheeses over the top, focusing on areas with chili but also getting some directly on the fries.
Place the loaded fries in the oven for 3-5 minutes, just until the cheese melts completely. Remove and immediately top with sliced green onions, dollops of sour cream, and fresh cilantro if using. Serve immediately while everything is hot and the cheese is still bubbly.
Flavor & Texture Notes
The first bite of properly made chili cheese fries delivers a symphony of textures and flavors that explains why this dish has such devoted fans. Your teeth first encounter the creamy, tangy sour cream and the fresh bite of green onions, followed by the rich, melted cheese that coats your palate with satisfying richness. Then comes the hearty chili – savory, slightly spicy, and full of tender beef and beans that provide substance and protein.
Underneath it all, the fries maintain their crispy exterior while absorbing just enough of the chili’s flavors to taste integrated rather than separate. The contrast between the soft, creamy toppings and the crispy potato foundation creates textural interest in every forkful. The overall flavor profile balances savory, spicy, tangy, and rich elements without any single component overwhelming the others.
The spice level from the chili provides warmth without being overwhelming, while the combination of sharp cheddar and mild Monterey Jack creates a cheese blend that’s flavorful but not overpowering. Each component maintains its distinct character while contributing to a cohesive, satisfying whole that feels both indulgent and somehow wholesome.
Tips & Variations
For extra crispy fries, try the double-fry method even when baking. Par-bake the fries for 15 minutes, remove them from the oven, toss gently, and return for another 10-15 minutes. This mimics the restaurant-style double-cooking technique at home.
Vegetarian? Substitute the ground beef with a mixture of diced mushrooms, walnuts, and lentils, or use your favorite plant-based ground meat alternative. Increase the vegetables and beans to maintain the chili’s heartiness, and use vegetable broth instead of beef broth.
Cheese variations can completely change the character of your dish. Try pepper jack for extra heat, smoked gouda for depth, or even a Mexican cheese blend for authentic Tex-Mex flavor. Queso blanco or queso fresco add creamy richness with less saltiness than aged cheeses.
Make your chili ahead and freeze it in portions for quick future meals. The flavors actually improve after a day or two, making this an excellent make-ahead option for entertaining. You can also customize the heat level by adjusting the cayenne and adding diced jalapeños or chipotle peppers in adobo sauce.
For loaded nacho-style fries, add diced tomatoes, jalapeño slices, black olives, and avocado after the cheese melts. This transforms the dish into something closer to fully loaded nachos but maintains the crispy fries as the base.
Storage & Make-Ahead
The chili component stores beautifully and actually improves with time. Refrigerate leftover chili for up to 4 days or freeze for up to 3 months. When reheating, add a splash of broth if needed to restore the proper consistency.
Unfortunately, assembled chili cheese fries don’t store or reheat well due to the fries losing their crispiness. However, you can prepare all components separately and assemble fresh portions as needed. Keep cooked fries warm in a low oven for up to 30 minutes, and reheat chili gently on the stovetop.
For entertaining, prepare the chili up to 2 days ahead and keep it warm in a slow cooker on low heat during your event. This allows guests to assemble their own portions with fresh, hot fries and ensures everyone gets the optimal texture experience.
If you have leftover assembled chili cheese fries, the best reheating method is a hot oven at 400°F for 8-10 minutes. While the fries won’t be as crispy as when fresh, this method prevents sogginess better than microwave reheating.
Serving Suggestions
Chili cheese fries work beautifully as both an appetizer for sharing and a hearty main dish. For game day parties, set up a DIY station with warm chili in a slow cooker, hot fries under heat lamps or in warming trays, and various toppings in small bowls. This interactive approach keeps everything at optimal temperature and lets guests customize their portions.
As a main dish, pair with a simple green salad dressed with lime vinaigrette to cut through the richness. The fresh, acidic elements help balance the heavy, comfort food qualities of the loaded fries. Coleslaw also makes an excellent side, providing crunch and acidity that complements the dish perfectly.
For casual dinners, serve alongside grilled corn on the cob or a crisp cucumber salad. The fresh vegetable elements provide textural contrast and help create a more complete meal. Beer is the traditional beverage pairing, but iced tea, lemonade, or even a light red wine works well depending on your preferences.
Consider portion sizes when planning – these are quite rich, so a smaller portion goes further than you might expect. As an appetizer, plan for about 1/2 cup of fries per person; as a main dish, 1 cup per person is usually sufficient.
FAQ
Can I use frozen fries instead of making them from scratch? Absolutely. Choose thick-cut frozen fries and bake them according to package directions, adding an extra 2-3 minutes for extra crispiness. The key is making sure they’re very hot and crispy before adding toppings, so they hold up better under the chili and cheese.
How spicy is this chili, and can I adjust the heat level? This recipe produces a mild to medium heat level that most people find comfortable. Reduce or omit the cayenne pepper for milder chili, or add diced jalapeños, extra cayenne, or hot sauce for more heat. Remember you can always add heat, but you can’t take it away.
What’s the best cheese for melting on chili cheese fries? A combination of sharp cheddar and Monterey Jack provides the best balance of flavor and melting properties. Cheddar adds tangy richness while Monterey Jack melts smoothly. Avoid pre-shredded cheese if possible – freshly grated melts better and has superior texture.
Can I make this recipe in smaller portions? Yes, easily. Halve all ingredients for a smaller batch, but keep cooking times roughly the same. The chili might finish cooking slightly sooner, so taste and adjust seasonings accordingly. Smaller batches are perfect for trying the recipe before making large quantities.
How do I keep the fries from getting soggy? The key is hot, crispy fries and proper assembly order. Make sure fries are fresh from the oven or fryer, use warm (not watery) chili, and add toppings just before serving. Work quickly during assembly and serve immediately for the best texture contrast.
Creating the perfect batch of chili cheese fries takes a bit of coordination, but the results are absolutely worth the effort. There’s something deeply satisfying about transforming simple ingredients into this beloved comfort food classic that brings people together around the table. The combination of techniques – from properly cooking the chili to achieving crispy fries to melting the cheese just right – might seem involved, but each step builds toward that perfect bite that makes all the work worthwhile.
Whether you’re making these for a special occasion or just because Tuesday night calls for something extra comforting, you’ll find this recipe delivers consistent, restaurant-quality results that might just become your new favorite way to elevate the humble potato into something truly special.