
Follow Me On Social Media!

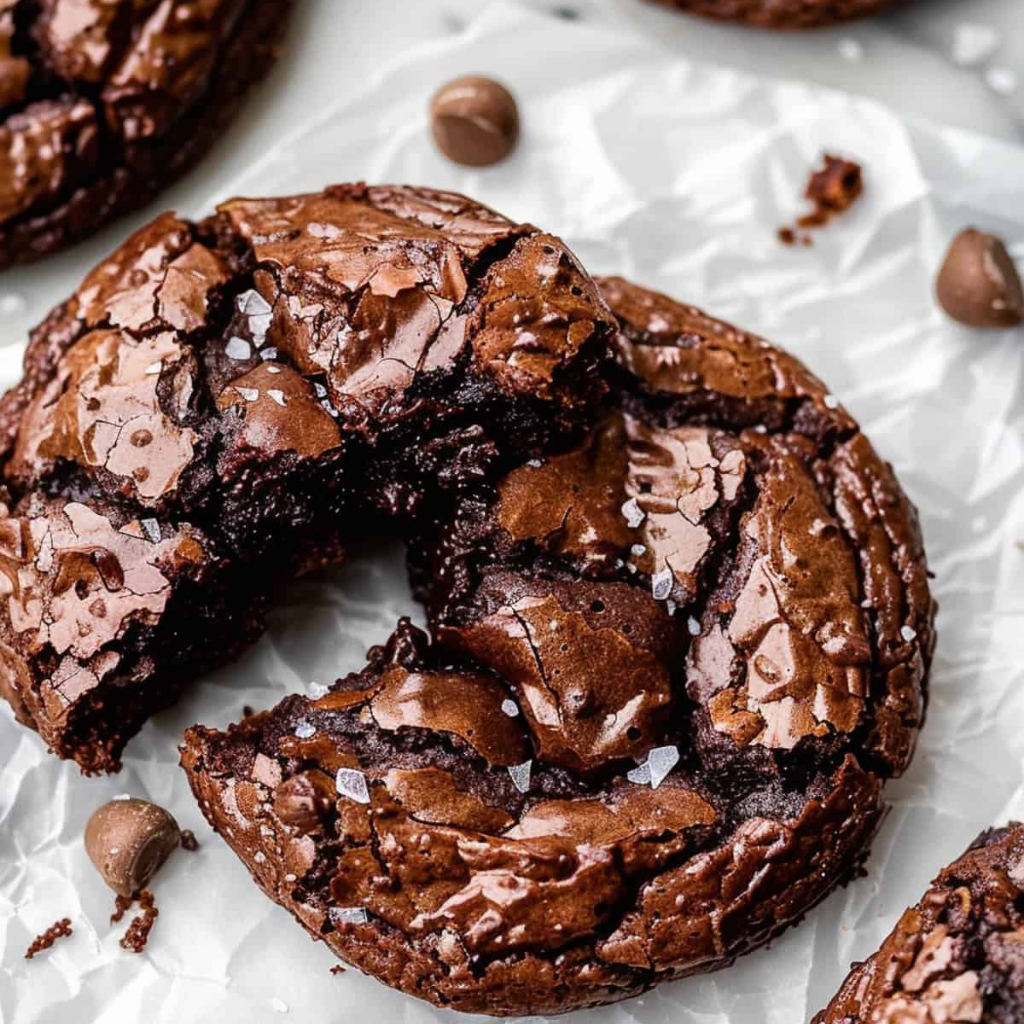
The BEST Fudgy Chewy Brookies: Perfect Cookie-Brownie Hybrid Recipe.
Some of my greatest kitchen victories have come from moments of indecision. Standing in my kitchen one evening, staring at ingredients for both brownies and chocolate chip cookies, I couldn’t choose which to make. That’s when the brilliant idea struck—why choose at all? These fudgy chewy brookies are the result of that moment of sweet inspiration, and they’ve become the most requested treat in my recipe collection.
The concept of brookies isn’t new, but getting the balance exactly right took months of testing. Too much brownie batter and the cookie layer disappears entirely. Too much cookie dough and you lose that rich, fudgy contrast. This recipe achieves the perfect harmony—a substantial layer of thick, chewy chocolate chip cookie dough topped with intensely fudgy brownie batter that bakes into distinct but complementary layers.
What makes these brookies special is the texture contrast in every single bite. The bottom layer has that classic cookie chew with crispy edges, while the top layer delivers pure brownie decadence with a slightly crackled surface and gooey center. The flavors work together beautifully too—the vanilla-forward cookie base provides the perfect backdrop for the deep, chocolatey brownie layer.
These brookies solve the eternal dessert dilemma and create something even better than the sum of their parts. Whether you’re baking for a crowd, bringing treats to a potluck, or just can’t decide what to make for dessert tonight, this recipe delivers maximum impact with surprisingly straightforward techniques.
Ingredients
For the Cookie Layer:
- 2 1/4 cups all-purpose flour
- 1 teaspoon baking soda
- 1 teaspoon salt
- 1 cup (2 sticks) unsalted butter, softened
- 3/4 cup granulated sugar
- 3/4 cup packed brown sugar
- 2 large eggs
- 2 teaspoons vanilla extract
- 1 1/2 cups semi-sweet chocolate chips
For the Brownie Layer:
- 1/2 cup (1 stick) unsalted butter
- 8 ounces dark chocolate, chopped (or 1 1/3 cups chocolate chips)
- 1 cup granulated sugar
- 3 large eggs
- 1 teaspoon vanilla extract
- 1/2 cup all-purpose flour
- 1/4 cup unsweetened cocoa powder
- 1/2 teaspoon salt
- 1/2 cup semi-sweet chocolate chips (optional)
For Assembly:
- Butter or cooking spray for the pan
- Extra chocolate chips for topping (optional)
Instructions
Start by preheating your oven to 350°F and lining a 9×13-inch baking pan with parchment paper, leaving some overhang for easy removal. This size pan is crucial for getting the right ratio of cookie to brownie layers—smaller pans will make the layers too thick, while larger pans spread them too thin.
Begin with the cookie layer since it needs to be pressed into the pan first. In a medium bowl, whisk together the flour, baking soda, and salt. Set this aside while you work on the wet ingredients. In a large bowl, cream the softened butter with both sugars using an electric mixer on medium speed for about 3-4 minutes, until the mixture is light and fluffy. This step incorporates air into the dough, which helps create that perfect chewy texture.
Beat in the eggs one at a time, followed by the vanilla extract. Make sure each egg is fully incorporated before adding the next. Gradually mix in the flour mixture on low speed until just combined—overmixing will make the cookies tough. Fold in the chocolate chips by hand using a wooden spoon or sturdy spatula.
Press the cookie dough evenly into the prepared pan using your hands or the back of a measuring cup. The dough will be thick and somewhat sticky, which is exactly what you want. Make sure to press it all the way to the edges and corners for even baking. Don’t worry about making it perfectly smooth—some texture is fine and actually helps the brownie layer adhere.
Now for the brownie layer, which requires a different technique entirely. In a medium saucepan over low heat, melt the butter and chopped chocolate together, stirring constantly until smooth. You can also do this in a microwave, heating in 30-second intervals and stirring between each one. Remove from heat and let it cool slightly—you don’t want it so hot that it scrambles the eggs.
Whisk the sugar into the chocolate mixture until well combined, then add the eggs one at a time, whisking vigorously after each addition. The mixture should become glossy and smooth. Whisk in the vanilla extract. In a separate small bowl, combine the flour, cocoa powder, and salt, then whisk this into the chocolate mixture until just combined. If using additional chocolate chips for the brownie layer, fold them in now.
Carefully spread the brownie batter over the pressed cookie dough layer. Use an offset spatula or the back of a spoon to spread it evenly, being gentle so you don’t disturb the cookie layer underneath. The brownie batter will be thinner than the cookie dough, so it should spread more easily. If desired, sprinkle a few extra chocolate chips on top for visual appeal.
Bake for 28-32 minutes, until the brownie layer is set around the edges but still slightly soft in the center. The top might have a few small cracks, which is normal and adds to the authentic brownie appearance. A toothpick inserted into the center should come out with a few moist crumbs—you don’t want it completely clean, as that indicates overbaking.
Cool completely in the pan before cutting. This is crucial for clean slices and proper texture development. The cooling process allows both layers to firm up and creates that perfect contrast between the chewy cookie base and fudgy brownie top.
Flavor & Texture Notes
These brookies deliver on texture in the most satisfying way possible. The bottom cookie layer provides substantial chew with slightly crispy edges where it meets the pan. It tastes like your favorite chocolate chip cookies—buttery, vanilla-forward, with bursts of chocolate from the chips throughout.
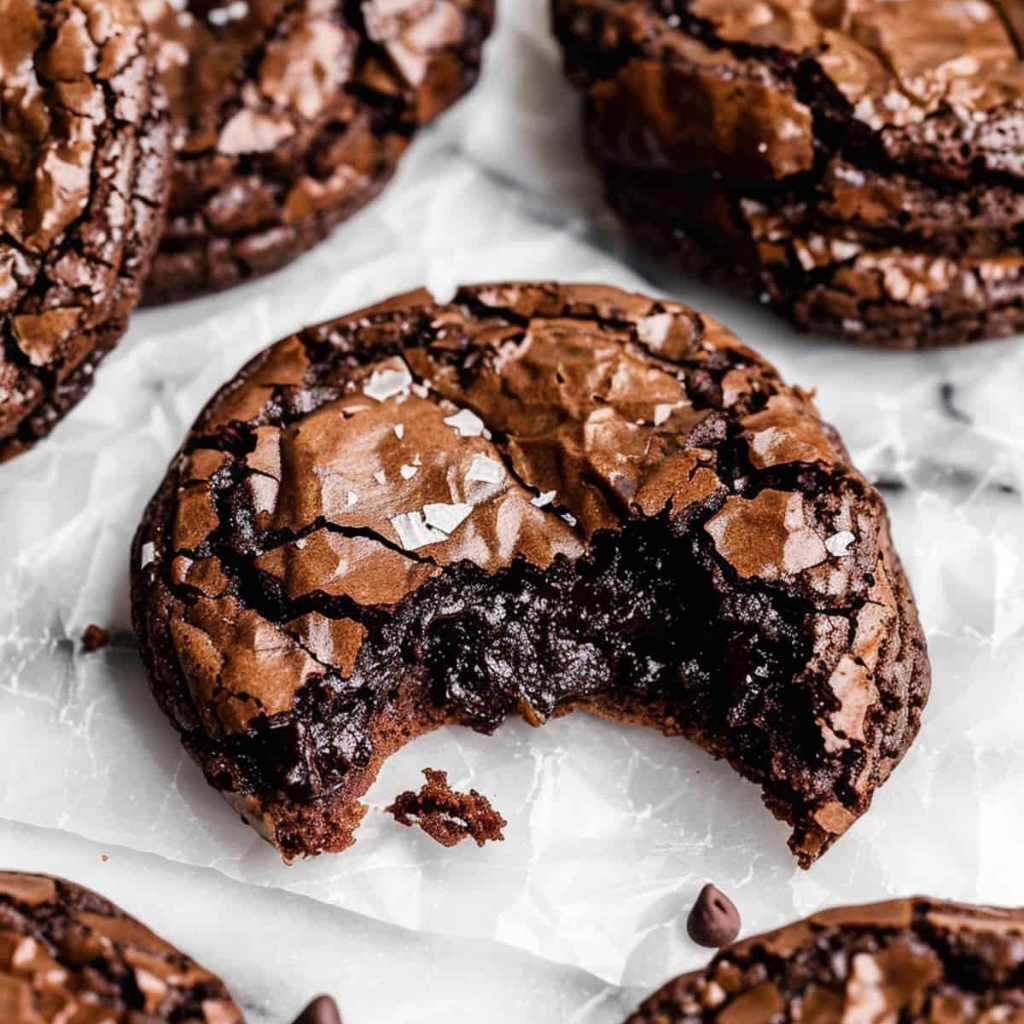
The brownie layer on top is intensely chocolatey and fudgy, with that characteristic dense texture that melts slightly on your tongue. The contrast between the two layers creates an almost cake-like experience, but with much more interesting textural variation than any single dessert could provide.
Each bite gives you both components in perfect proportion. The cookie layer prevents the brownies from being overwhelmingly rich, while the brownie layer elevates the cookies beyond ordinary. The chocolate flavors work in harmony—the semi-sweet chips in the cookies provide bright chocolate notes, while the dark chocolate in the brownies adds depth and sophistication.
When you cut into cooled brookies, you can see distinct layers that hold together beautifully. The cookie layer maintains its integrity without becoming soggy, while the brownie layer stays moist and fudgy without being gooey or underbaked.
Tips & Variations
Chocolate Choices: The type of chocolate you use in the brownie layer significantly affects the final flavor. Dark chocolate (60-70% cacao) creates the most sophisticated flavor profile, while semi-sweet chocolate makes a milder, more accessible version. Avoid using chocolate chips for melting—bar chocolate melts more smoothly and creates better texture.
Cookie Dough Consistency: If your cookie dough seems too soft to press into the pan easily, chill it in the refrigerator for 15-20 minutes. This makes it much easier to handle and helps prevent it from mixing with the brownie batter during assembly.
Add-In Ideas: Try mixing chopped nuts, toffee bits, or different types of chocolate chips into either layer. White chocolate chips in the cookie layer with dark chocolate brownies on top creates beautiful color contrast. Peanut butter chips work wonderfully in the cookie layer if you’re a peanut butter chocolate fan.
Size Variations: You can make these in a 8×8-inch pan for thicker layers, but increase the baking time to 35-40 minutes and watch carefully to prevent overbaking. For individual portions, try making them in a muffin tin—press cookie dough into the bottom of each cup and top with brownie batter.
Gluten-Free Option: Substitute the all-purpose flour with a 1:1 gluten-free flour blend in both layers. The texture will be slightly different but still delicious. Make sure your chocolate and other ingredients are certified gluten-free if this is a concern.
Make Them Fancy: Sprinkle coarse sea salt on top before baking for gourmet appeal, or drizzle cooled brookies with melted chocolate or caramel sauce. A dusting of powdered sugar also makes them look bakery-worthy.
Storage & Make-Ahead
Brookies keep well at room temperature for up to a week when stored in an airtight container with parchment paper between layers to prevent sticking. They actually improve slightly after a day or two as the flavors meld together and the textures settle.
For longer storage, wrap individual portions in plastic wrap and freeze for up to 3 months. They thaw quickly at room temperature and taste almost as good as fresh. You can also freeze the whole uncut pan, wrapped tightly in plastic wrap and aluminum foil.
Both the cookie dough and brownie batter can be made ahead separately and stored in the refrigerator for up to 2 days before assembly and baking. This makes them perfect for entertaining—do the prep work earlier in the week, then just assemble and bake when needed.
If you want to prep even further ahead, you can assemble the entire pan and freeze it unbaked for up to 1 month. Bake directly from frozen, adding about 5-10 minutes to the baking time. Cover with foil if the top starts browning too quickly.
Serving Suggestions
Brookies are perfect on their own, but they also make an excellent base for more elaborate desserts. Warm them slightly and serve with vanilla ice cream for an over-the-top sundae experience. The temperature contrast between warm brookies and cold ice cream is absolutely perfect.
For parties, cut them into small squares and arrange on a platter with other bite-sized desserts. They’re sturdy enough to hold their shape and impressive enough to anchor a dessert spread. Provide small napkins since they can be a bit rich for eating with hands.
These also work beautifully as the base for a trifle-style dessert. Break cooled brookies into chunks and layer with whipped cream and fresh berries in individual glasses. The combination of textures and flavors creates a restaurant-worthy presentation with minimal effort.
For a casual presentation, serve them directly from the pan with a small spatula for cutting. This works great for family gatherings or casual entertaining where the focus is more on taste than presentation.
FAQ
Why do my layers mix together during baking? This usually happens when the cookie dough is too soft or the brownie batter is too hot when assembled. Make sure your cookie dough is firm enough to press into a solid layer, and let the melted chocolate mixture cool for a few minutes before adding the eggs and spreading over the cookies.
Can I use boxed brownie mix for the top layer? While homemade brownie batter works best, you can use a boxed mix in a pinch. Prepare it according to package directions but use about 25% less liquid to make it thicker. You’ll need approximately one standard box of brownie mix for this recipe.
How do I get clean cuts when slicing? Use a sharp knife and wipe it clean between cuts. For the cleanest slices, chill the completely cooled brookies in the refrigerator for about an hour before cutting. You can also run your knife under warm water and dry it between cuts.
My brownie layer seems underbaked but the edges are getting dark. What should I do? Cover the pan with aluminum foil and continue baking for 5-10 more minutes. The foil prevents the edges from overbrowning while allowing the center to finish cooking. Remember that the brownie layer should be slightly underbaked for the best fudgy texture.
Can I make these without eggs? Yes, though the texture will be different. For each egg in the cookie layer, substitute 1/4 cup applesauce or 1 tablespoon ground flaxseed mixed with 3 tablespoons water. For the brownie layer eggs, use commercial egg replacer following package directions, as this layer depends more heavily on eggs for structure.
The beauty of brookies lies in their ability to satisfy multiple cravings at once while creating something entirely new and wonderful. This recipe takes two beloved classics and transforms them into something even better—proof that sometimes the best innovations come from simply refusing to choose between good things. Whether you’re a devoted brownie lover, a cookie enthusiast, or someone who believes life is too short for such difficult decisions, these brookies will quickly earn a permanent place in your baking repertoire.