
Follow Me On Social Media!

Super Easy Stovetop Butter Cookies Recipe – No Oven Needed.
There are days when you want something sweet and homemade but don’t feel like turning on the oven. Maybe it’s too hot outside, maybe your oven’s on the fritz, or maybe you just love the simplicity of stovetop cooking. Whatever the reason, this Super Easy Stovetop Butter Cookies Recipe is about to become your new go-to.
These cookies are crisp on the edges, tender inside, and filled with that unmistakable buttery flavor that makes classic butter cookies so timeless. And the best part? You can make them right on the stovetop — no baking required. All you need is a skillet, some everyday ingredients, and a few minutes of your time.
I first tried making cookies on the stovetop during a summer heatwave, when baking felt unthinkable. I was surprised by how beautifully they turned out: golden on the bottom, fragrant, and just the right amount of crisp. Over time, I’ve refined the method to make it truly foolproof — and this is the version I keep coming back to.
Ingredients
For the Cookies
- 1 cup (2 sticks) unsalted butter, softened
- ¾ cup powdered sugar
- ¼ cup granulated sugar
- 1 large egg yolk
- 1 tsp vanilla extract
- 2 ¼ cups all-purpose flour
- ½ tsp salt
Optional Toppings
- Extra sugar for sprinkling
- Melted chocolate for drizzling
- Sprinkles or chopped nuts for decoration
Instructions
Step 1: Cream the Butter and Sugars
In a large mixing bowl, beat the softened butter, powdered sugar, and granulated sugar together until smooth and creamy. This can be done with a hand mixer or by hand with a sturdy spatula.
Add the egg yolk and vanilla extract, and mix until fully incorporated. The mixture should look pale and fluffy.
Step 2: Add Dry Ingredients
In a separate bowl, whisk together the flour and salt. Gradually add this to the butter mixture, stirring on low until a soft, smooth dough forms.
The dough should not be sticky. If it feels a bit soft, chill it in the refrigerator for 10–15 minutes to make shaping easier.
Step 3: Shape the Cookies
Take small portions of dough (about 1 tablespoon each) and roll them into balls. Gently flatten each ball into a disc, about ¼-inch thick.
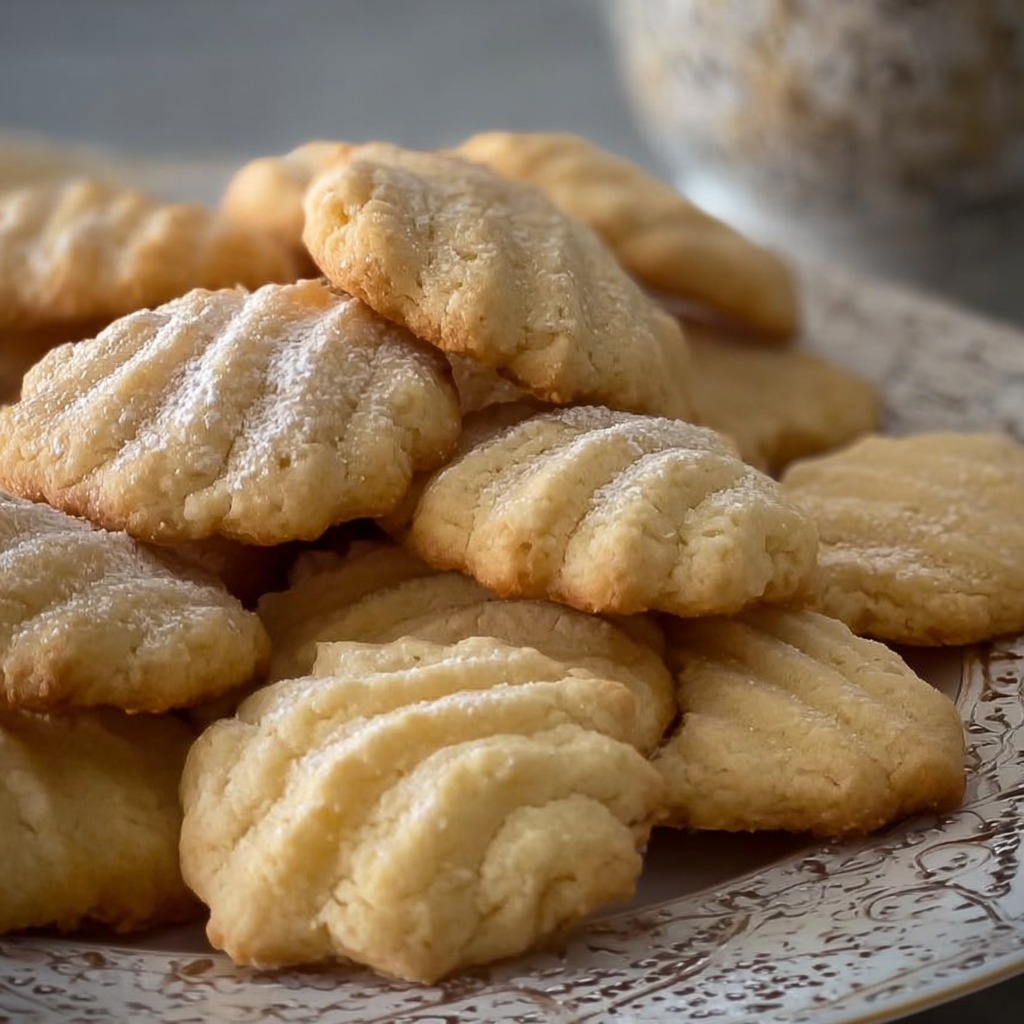
For a more decorative look, you can press the tops lightly with a fork for a classic butter cookie pattern or use the bottom of a glass with a textured design.
Step 4: Preheat the Skillet
Place a heavy-bottomed non-stick skillet or griddle over low heat. It’s important to use low heat to allow the cookies to cook through without burning on the bottom. If your skillet tends to run hot, use a heat diffuser or double pan setup to moderate the temperature.
Step 5: Cook the Cookies
Arrange the shaped cookies in the skillet, leaving a bit of space between each. Cover the skillet with a lid — this traps heat and helps the cookies cook evenly, similar to baking.
Cook for 6–8 minutes on the first side, or until the bottoms are lightly golden and the tops start to look set. Flip gently with a spatula and cook for another 4–5 minutes on the other side.
The cookies should be golden on both sides and slightly soft in the center (they’ll firm up as they cool). Adjust heat as needed to prevent burning.
Step 6: Cool & Decorate
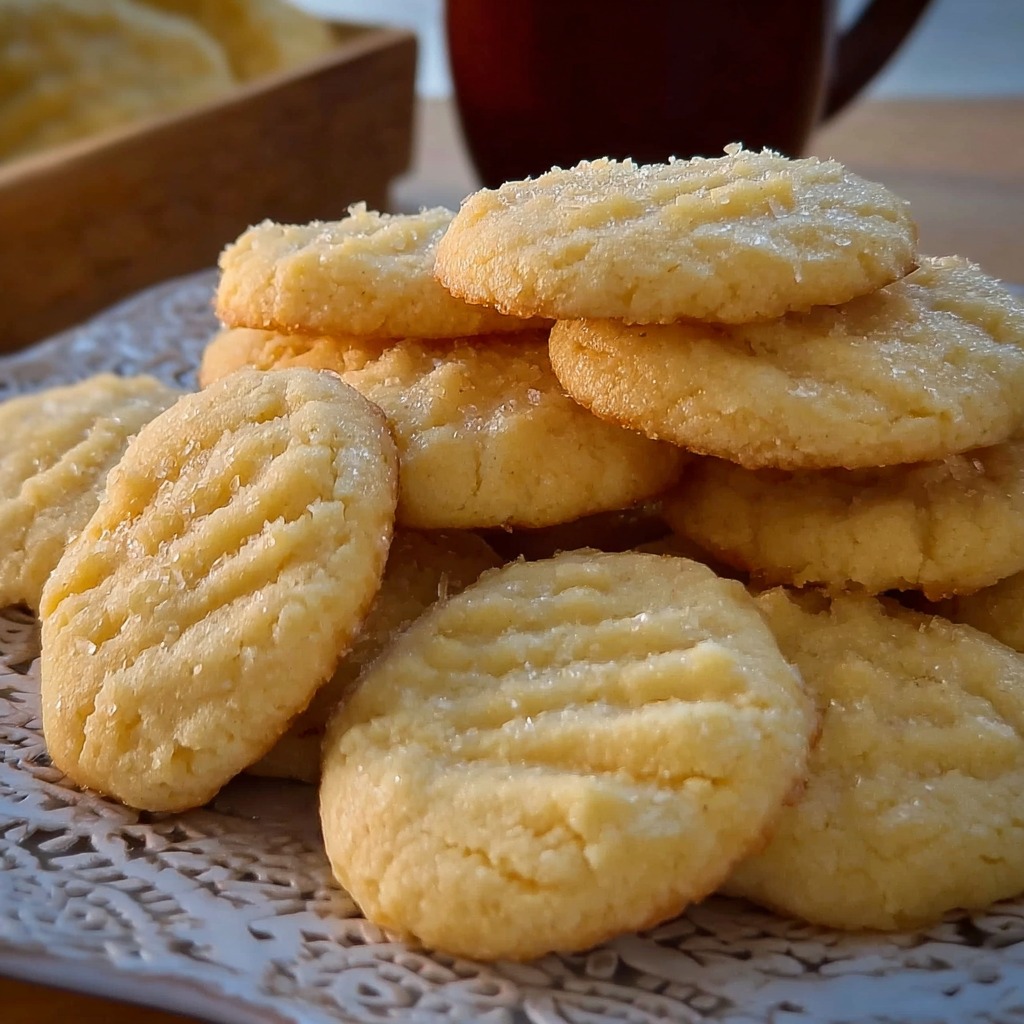
Transfer the cooked cookies to a wire rack to cool completely. If you’d like, sprinkle them with sugar while warm, drizzle with melted chocolate, or decorate with sprinkles or nuts once cooled.
They’re delicious plain too — buttery, crisp, and just sweet enough.
Flavor & Texture Notes
These stovetop butter cookies have that classic, nostalgic taste: buttery, lightly sweet, and melt-in-your-mouth. The outside crisps up beautifully from the skillet, while the inside stays tender and delicate.
They’re a bit like traditional Danish butter cookies but slightly softer in the center — a happy middle ground between shortbread and sugar cookies. The stovetop cooking gives them a subtle golden-brown flavor that’s different from oven-baked versions, almost like a cross between a cookie and a tea biscuit.
Tips & Variations
- Keep the Heat Low: Low and slow is the key to perfect stovetop cookies. High heat will brown the bottoms too fast and leave the centers undercooked.
- Chill if Needed: If your kitchen is warm and the dough gets too soft, a short chill in the fridge makes shaping easier.
- Add Flavors: Mix in lemon zest, almond extract, or a pinch of cinnamon for a twist on the classic flavor.
- Decorative Edges: Roll the dough balls in coarse sugar before flattening for a sparkly, crunchy edge.
- Filled Cookies: Flatten the dough slightly, add a bit of jam in the center, and cook gently for a buttery thumbprint-style variation.
Storage & Make-Ahead
- Room Temperature: Store cooled cookies in an airtight container for up to 1 week. Layer with parchment to prevent sticking.
- Freezer: Raw cookie dough balls can be frozen on a tray, then transferred to a bag and cooked from frozen, adding 1–2 extra minutes per side.
- Baked Cookies: Freeze fully cooked cookies for up to 2 months. Thaw at room temperature — no need to reheat.
- Make-Ahead Dough: The dough can be prepared 2–3 days in advance and stored in the refrigerator, tightly wrapped.
Serving Suggestions
- With Tea or Coffee: These cookies pair beautifully with afternoon tea, lattes, or espresso.
- Holiday Platters: Stack them on a platter with chocolate-dipped edges for a festive, oven-free dessert.
- Gift Boxes: Package cooled cookies in parchment-lined tins or boxes for homemade gifts.
- Dipped Treats: Half-dip in white or dark chocolate and sprinkle with crushed nuts or sea salt for a bakery-style finish.
FAQ
Can I use salted butter instead of unsalted?
Yes, just reduce or omit the added salt in the recipe to balance the flavor.
Do these cookies taste different from oven-baked butter cookies?
A little — stovetop cookies develop a slightly deeper, toastier flavor on the bottom, while the texture remains tender inside. They’re similar but with their own unique charm.
What type of pan works best?
A heavy non-stick skillet or cast iron pan works best. Thin pans can cause uneven browning, so if that’s what you have, use a heat diffuser or cook on the lowest possible setting.
How do I know when they’re done?
The bottoms should be lightly golden, and the tops should no longer look wet. The cookies will firm up as they cool, so don’t overcook.
Can I flavor the dough with something other than vanilla?
Absolutely! Almond extract, citrus zest, or even a touch of rose water can create unique variations.
Conclusion
This Super Easy Stovetop Butter Cookies Recipe proves that you don’t need an oven to bake something special. With just a few pantry staples and a skillet, you can whip up a batch of golden, buttery cookies that taste like they came from a bakery.
Whether you’re baking on a hot summer day, in a small kitchen without an oven, or simply craving something quick, these cookies deliver every time. They’re crisp, tender, and endlessly versatile — a true classic made even simpler.