
Follow Me On Social Media!

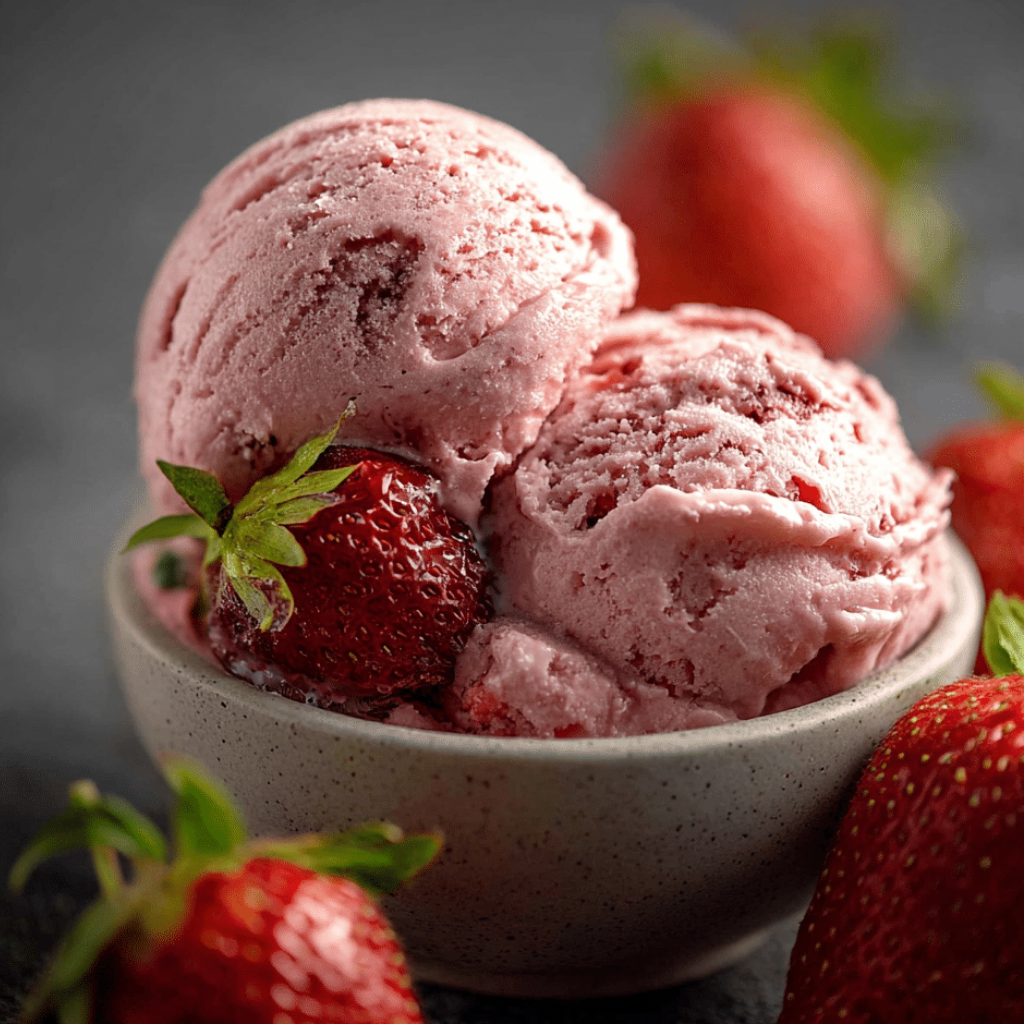
How to Make No-Churn Strawberry Ice Cream: Creamy Homemade Ice Cream Without an Ice Cream Maker.
The day I discovered you could make real ice cream without an ice cream maker was the day my summer dessert game changed forever. I was skeptical at first—how could something so simple produce results that rival the electric churning machines? But after one spoonful of this no-churn strawberry ice cream, I was completely sold. The texture is impossibly creamy, the strawberry flavor is bright and authentic, and the entire process takes less than 15 minutes of active work.
This recipe came about during a particularly hot July when my ancient ice cream maker finally gave up, but my craving for homemade strawberry ice cream was stronger than ever. I’d seen no-churn recipes floating around but assumed they’d produce something more like frozen mousse than real ice cream. I was wrong. The secret lies in whipped heavy cream folded into sweetened condensed milk—a combination that creates the perfect base for smooth, scoopable ice cream that doesn’t turn into a rock-hard block in your freezer.
What makes this strawberry ice cream special is how it captures the pure essence of fresh strawberries without relying on artificial flavors or colors. By cooking down fresh berries into a concentrated puree, you get intense strawberry flavor that actually tastes like summer. The natural fruit sugars help prevent ice crystals from forming, while the cream base stays silky smooth even after hours in the freezer.
Whether you’re dealing with a broken ice cream maker, don’t want to invest in one, or simply want ice cream faster than traditional churning allows, this no-churn method delivers professional results with minimal equipment and effort.
Ingredients
For the Strawberry Base:
- 1 pound fresh strawberries, hulled and chopped
- 1/3 cup granulated sugar
- 1 tablespoon fresh lemon juice
- Pinch of salt
For the Ice Cream Base:
- 2 cups heavy cream, very cold
- 1 can (14 ounces) sweetened condensed milk
- 1 teaspoon vanilla extract
- Pinch of salt
Optional Add-ins:
- 1/4 cup chopped fresh strawberries for texture
- 2 tablespoons strawberry jam for extra sweetness
- 1 tablespoon balsamic vinegar for depth (trust me on this)
Instructions
Start by making the strawberry puree, which forms the flavor foundation of your ice cream. Place the chopped strawberries, sugar, lemon juice, and salt in a medium saucepan over medium heat. The sugar will help draw out the strawberry juices while the lemon juice brightens the flavor and helps maintain the fruit’s natural color.
Cook the strawberry mixture, stirring occasionally, for about 8-10 minutes until the berries break down completely and the mixture becomes thick and jammy. You want most of the liquid to evaporate—this concentrates the strawberry flavor and prevents ice crystals from forming in your finished ice cream. The mixture should coat the back of a spoon and hold its shape when you drag a finger through it.
Remove the strawberry mixture from heat and let it cool to room temperature, then refrigerate until completely cold. This step is crucial—adding warm fruit puree to your cream base will deflate the whipped cream and ruin the texture. While the fruit cools, this is a perfect time to chill your mixing bowl and beaters in the freezer for 15 minutes.
In your chilled bowl, whip the heavy cream to soft peaks using an electric mixer. This usually takes 2-3 minutes on medium-high speed. You want the cream to hold its shape when you lift the beaters, but don’t overwhip—you’re not making butter. The cream should still look smooth and glossy.
In a separate bowl, whisk together the sweetened condensed milk, vanilla extract, and salt until smooth. The sweetened condensed milk might seem thick and sticky, but it will integrate beautifully with the other ingredients. This mixture provides both sweetness and the proteins that help create the creamy texture.
Now comes the crucial folding step. Add about one-third of the whipped cream to the condensed milk mixture and gently fold it in using a large spoon or rubber spatula. This lightens the heavy condensed milk mixture and makes it easier to incorporate the remaining cream without deflating it.
Add the cooled strawberry puree to this mixture and fold it in gently. You want to see beautiful pink swirls throughout, but don’t overmix—some streaks of deeper color are actually desirable and create visual interest in the finished ice cream.
Finally, add the remaining whipped cream and fold everything together with gentle, sweeping motions from the bottom of the bowl up and over the top. The key is to maintain as much air as possible in the mixture while ensuring everything is evenly combined. The final mixture should be light pink with darker strawberry swirls throughout.
Transfer the mixture to a 9×5-inch loaf pan or similar freezer-safe container. Press a piece of plastic wrap directly onto the surface of the ice cream to prevent ice crystals from forming, then cover the container with a lid or more plastic wrap. Freeze for at least 6 hours, though overnight is even better for the firmest texture.
Flavor & Texture Notes
This no-churn strawberry ice cream achieves a remarkably smooth, creamy texture that’s comparable to premium store-bought varieties. The base is rich and velvety, with none of the icy grittiness you might expect from homemade ice cream. Each spoonful melts cleanly on your tongue, releasing bright strawberry flavor that tastes like fresh fruit rather than artificial flavoring.
The strawberry flavor is intense and authentic, thanks to cooking down fresh berries to concentrate their natural sugars and flavors. You’ll taste the slight tartness of real strawberries balanced by just enough sweetness, with the vanilla adding warm depth without competing with the fruit. The lemon juice brightens everything and helps the strawberry flavor pop.
The texture remains scoopable straight from the freezer, unlike some homemade ice creams that become rock-hard. The sweetened condensed milk provides proteins and sugars that help keep the mixture soft, while the whipped cream creates tiny air bubbles that give the ice cream its light, creamy mouthfeel.
If you choose to add chopped fresh strawberries, they provide delightful bursts of fresh fruit flavor and a slight textural contrast to the smooth base. The pieces stay tender in the freezer rather than becoming hard chunks, thanks to their natural water content and sugars.
Tips & Variations
Berry Substitutions: This same technique works beautifully with other berries. Try raspberries, blackberries, or blueberries using the same cooking method. Mixed berry combinations create complex, jammy flavors that are particularly good. Frozen berries work too—just thaw them completely first and drain any excess liquid.
Intensity Control: For milder strawberry flavor, use less cooked puree and supplement with a few tablespoons of good-quality strawberry jam. For more intense flavor, cook the berries down even further until they’re almost paste-like, or add a tablespoon of strawberry jam to boost the fruit flavor.
Texture Add-ins: Try folding in crushed graham crackers for a cheesecake vibe, mini chocolate chips for classic strawberry-chocolate combination, or chopped toasted nuts for crunch. Add these ingredients just before freezing so they stay evenly distributed.
Adult Version: A tablespoon of strawberry liqueur or balsamic vinegar adds sophisticated depth to the fruit flavor. The balsamic might sound strange, but it enhances the strawberry flavor beautifully without being detectable as vinegar.
Lighter Options: You can substitute half the heavy cream with whole milk for a lighter texture, though the final product won’t be quite as rich. Greek yogurt can replace up to half the sweetened condensed milk for a tangier, protein-rich version.
Vegan Adaptation: Use full-fat coconut cream in place of heavy cream and sweetened condensed coconut milk instead of regular. Chill the coconut cream overnight and only use the thick part that separates at the top.
Storage & Make-Ahead
This ice cream is perfect for make-ahead desserts since it needs several hours to freeze properly anyway. For the best texture and flavor, plan to make it at least 6 hours before serving, though overnight freezing produces the optimal consistency.
Properly stored, the ice cream keeps in the freezer for up to 2 months, though it’s best within the first month. Use an airtight container and press plastic wrap directly onto the surface before sealing to prevent ice crystals and freezer burn. Glass containers work well, but plastic is fine too.
The strawberry puree can be made up to 3 days ahead and stored in the refrigerator, making the final assembly even faster when you’re ready to make the ice cream. You can even freeze the puree for up to 6 months—just thaw it completely before using.
If your ice cream becomes too hard after extended freezer time, let it sit at room temperature for 5-10 minutes before scooping. Unlike store-bought ice cream with stabilizers, homemade versions can vary in firmness depending on your freezer temperature.
For individual servings, try freezing the mixture in popsicle molds for strawberry ice cream bars, or in muffin tins for perfect single-serving portions that are great for parties or portion control.
Serving Suggestions
This strawberry ice cream is beautiful on its own, but it also pairs wonderfully with other desserts. Serve it alongside warm berry cobbler or fruit crisps for a temperature contrast that highlights both the warm spices and cold creaminess. It’s also fantastic with simple pound cake or angel food cake, especially when topped with fresh berries.
For an elegant presentation, serve scoops in chilled glass bowls with a few fresh strawberry slices and a sprig of mint. A drizzle of good balsamic vinegar or a sprinkle of freshly cracked black pepper might sound unusual but creates a sophisticated flavor combination.
The ice cream works beautifully in milkshakes—blend with a little whole milk for the perfect consistency. It’s also wonderful sandwiched between homemade cookies or used as the base for elaborate sundaes with hot fudge, whipped cream, and fresh fruit.
Consider serving it as part of a dessert board with other summer treats like shortbread cookies, fresh berries, and small glasses of prosecco or dessert wine. The bright pink color makes it particularly appealing for spring and summer entertaining.
FAQ
Why didn’t my ice cream freeze properly? This usually happens when the strawberry puree wasn’t completely cool when added to the cream mixture, or if the heavy cream was overwhipped. Make sure the fruit mixture is cold before folding it in, and whip the cream only to soft peaks. If it’s still too soft after overnight freezing, your freezer might not be cold enough—it should be at 0°F or below.
Can I make this without an electric mixer? Yes, but it requires more effort. You can whip the cream by hand with a whisk, though it will take 8-10 minutes of vigorous whisking. Make sure your cream is very cold and consider chilling your bowl and whisk in the freezer first. The results will be the same, just with a bit more arm workout.
My ice cream has ice crystals. What went wrong? Ice crystals usually form when there’s too much water in the mixture or when the ice cream isn’t properly covered during freezing. Make sure to cook your strawberry puree until most of the liquid evaporates, and always press plastic wrap directly onto the surface before covering the container.
How do I know if my cream is whipped enough? The cream should hold soft peaks when you lift the beaters—it should look fluffy and thick but still have a smooth, glossy appearance. Overwhipped cream looks grainy and separates, which will create a chunky texture in your finished ice cream. Stop as soon as it holds its shape.
Can I use frozen strawberries? Absolutely. Thaw them completely first and drain any excess liquid before cooking them down. Frozen berries often break down more quickly than fresh ones, so you might need less cooking time to achieve the right consistency. The flavor will be just as good as using fresh berries.
Making ice cream at home doesn’t have to involve complicated equipment or hours of churning. This no-churn strawberry ice cream proves that some of the best desserts come from simple techniques executed well. The combination of fresh strawberry puree and perfectly whipped cream creates something that tastes like it came from an artisanal ice cream shop, but with the satisfaction of knowing you made it yourself. Once you master this basic technique, you’ll find yourself experimenting with different fruits and flavors all summer long.