
Follow Me On Social Media!

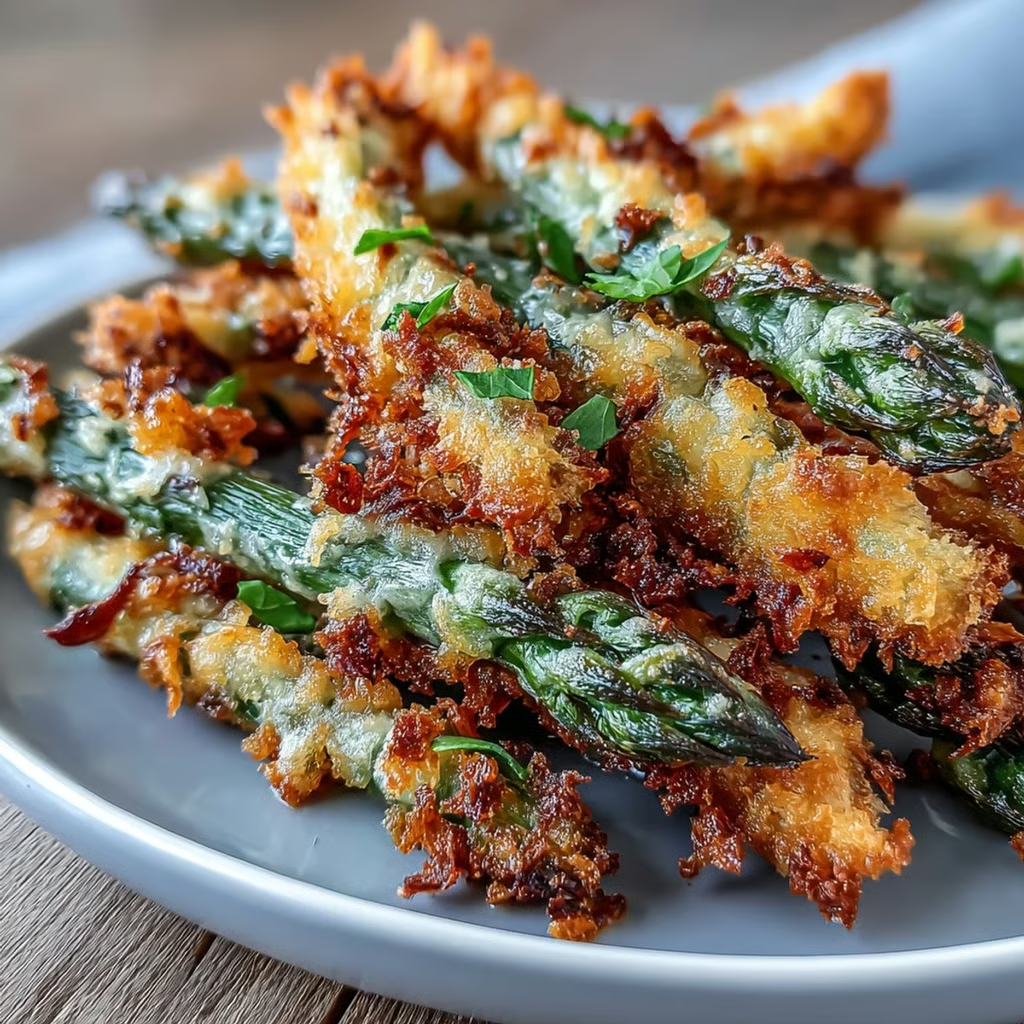
Crispy Chili-Garlic Asparagus Fries Recipe: A Healthier Alternative to Regular Fries.
I’ve always been someone who reaches for fries without thinking twice. There’s something about that crispy exterior and tender inside that just works. But after making asparagus fries for the first time, I realized you don’t need potatoes to get that same satisfying crunch. These chili-garlic asparagus fries hit differently—they’re light but filling, spicy without being overwhelming, and honestly, they disappear faster than regular fries at my dinner table.
What makes this recipe work is the combination of a seasoned coating that crisps up beautifully in the oven and fresh asparagus that keeps its bright, green flavor. The chili-garlic element isn’t just thrown in for show—it builds layers of flavor that make each bite interesting. You get heat from the chili, aromatic depth from the garlic, and that earthy asparagus taste all working together. This is the kind of recipe you’ll make once and then keep coming back to, whether you’re looking for a healthier snack, a side dish that actually gets people excited, or just something different from the usual vegetable routine.
Ingredients
For the asparagus:
- 1 pound fresh asparagus spears, woody ends trimmed
- 2 large eggs
- 2 tablespoons milk (any kind works)
- 1 cup panko breadcrumbs
- ½ cup grated Parmesan cheese
- 2 teaspoons garlic powder
- 1 teaspoon chili powder
- ½ teaspoon smoked paprika
- ½ teaspoon crushed red pepper flakes (adjust to taste)
- ½ teaspoon salt
- ¼ teaspoon black pepper
- Cooking spray or olive oil for misting
For serving:
- Fresh lemon wedges
- Your favorite dipping sauce (ranch, aioli, or spicy mayo work great)
Instructions
Start by preheating your oven to 425°F. Line a large baking sheet with parchment paper or a silicone mat. This temperature is important—it’s hot enough to crisp the coating without drying out the asparagus completely.
While the oven heats up, prepare your asparagus. Rinse the spears under cold water and pat them completely dry with paper towels or a clean kitchen towel. Any excess moisture will prevent the coating from adhering properly and make them soggy instead of crispy. Trim off the woody bottom ends—usually about 1 to 2 inches from the base. You can tell where to cut by bending a spear gently; it will naturally snap at the point where the tender part begins.
Set up your breading station with two shallow bowls or pie plates. In the first bowl, whisk together the eggs and milk until well combined. This egg wash acts as glue for your coating. In the second bowl, mix the panko breadcrumbs, Parmesan cheese, garlic powder, chili powder, smoked paprika, red pepper flakes, salt, and black pepper. Stir everything together thoroughly so the spices distribute evenly throughout the breadcrumbs.
Now for the coating process. Working with one asparagus spear at a time, dip it into the egg mixture, letting any excess drip off. Then roll it in the breadcrumb mixture, pressing gently to help the coating stick. Make sure you cover the entire spear, but don’t go too heavy-handed or the coating will be thick and doughy rather than crispy. Place each coated spear on your prepared baking sheet, leaving a little space between them so air can circulate.
Once all the asparagus is coated and arranged on the baking sheet, give them a light mist with cooking spray or brush them lightly with olive oil. This small step makes a big difference in achieving that golden, crispy exterior. Without it, the breadcrumbs will dry out rather than crisp up.
Bake for 12 to 15 minutes, depending on the thickness of your asparagus spears. You’re looking for a golden-brown coating that’s crispy to the touch and asparagus that’s tender but still has a slight bite. Thinner spears will be done closer to 12 minutes, while thicker ones might need the full 15. Keep an eye on them during the last few minutes to prevent burning.
Remove from the oven and let them rest for just a minute or two before serving. They’ll be extremely hot right out of the oven, and this brief cooling period also helps the coating set up a bit more.
Flavor & Texture Notes
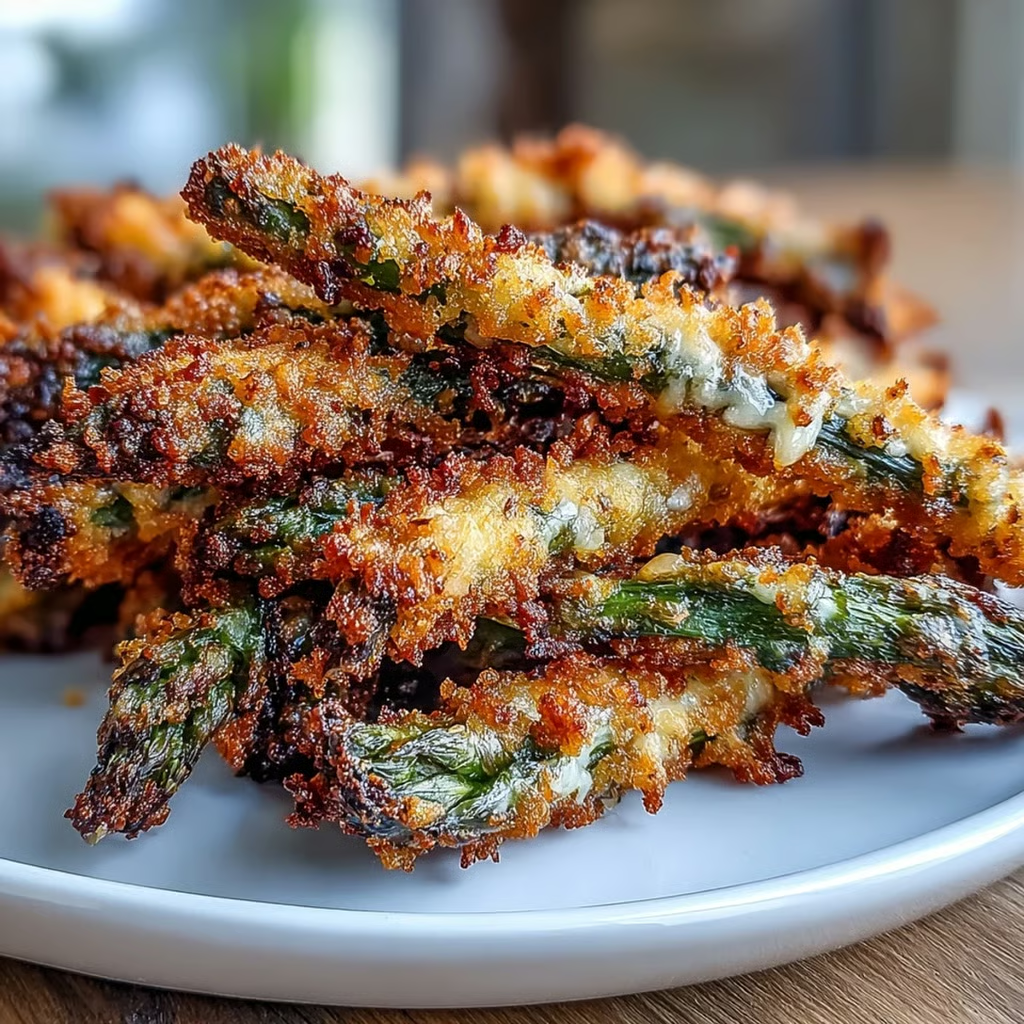
The first thing you notice when you bite into these asparagus fries is the contrast in texture. The outside coating shatters with a satisfying crunch that rivals any traditional fried food, but instead of greasy heaviness, you get the clean, fresh taste of asparagus underneath. The panko breadcrumbs create a lighter, airier crisp than regular breadcrumbs would, and the Parmesan adds a subtle nutty richness that complements rather than overpowers.
The chili-garlic seasoning builds gradually. It starts with the savory depth of garlic, then the warmth of chili powder and smoked paprika comes through, and finally, the red pepper flakes provide little bursts of heat that linger pleasantly. It’s not aggressively spicy—more like a gentle warmth that makes you reach for another one. The asparagus itself maintains its slightly grassy, mineral flavor, which balances all that seasoning beautifully.
What surprises most people is how the asparagus stays tender-crisp inside without becoming mushy. The high oven temperature and short cooking time preserve its texture while cooking it through. You get that fresh vegetable quality, not the overcooked, limp asparagus that sometimes happens with other cooking methods.
Tips & Variations
Choose medium-thickness asparagus spears if possible. The really thin ones can overcook and become floppy before the coating crisps, while super thick ones might not cook through in the center by the time the coating is golden. If you can only find thick asparagus, consider adding 2 to 3 minutes to the cooking time.
For a gluten-free version, swap the panko for gluten-free breadcrumbs or crushed cornflakes. The texture won’t be quite as delicate, but they’ll still crisp up nicely. You can also try crushed pork rinds for a keto-friendly coating that gets incredibly crispy.
If you want to dial up the heat, increase the red pepper flakes to a full teaspoon or add a pinch of cayenne pepper to the breadcrumb mixture. Conversely, if you’re serving these to kids or anyone sensitive to spice, cut the red pepper flakes in half or leave them out entirely. The garlic and paprika will still provide plenty of flavor.
The Parmesan can be substituted with other hard cheeses. Pecorino Romano will give you a sharper, saltier flavor, while Asiago adds a slightly sweet nuttiness. For a dairy-free option, use nutritional yeast—it won’t provide the same richness, but it adds a savory, cheesy flavor that works well.
Try experimenting with different spice blends. An Italian herb mix with dried oregano, basil, and thyme creates a Mediterranean version. Curry powder and turmeric make for an interesting Indian-inspired variation. Even everything bagel seasoning works surprisingly well if you skip the other spices and just use that.
Storage & Make-Ahead
These asparagus fries are definitely best enjoyed fresh from the oven when the coating is at its crispiest. That said, leftovers can be stored in an airtight container in the refrigerator for up to 2 days. The coating will soften as they sit, but you can revive them somewhat by reheating in a 400°F oven for about 5 to 7 minutes. Avoid the microwave—it will make them soggy.
You can prep these ahead by coating the asparagus spears and arranging them on the baking sheet up to 4 hours before baking. Cover the sheet with plastic wrap and refrigerate until you’re ready to cook. Let them sit at room temperature for about 10 minutes before baking, then proceed with the recipe as written.
Freezing isn’t ideal for this recipe. The asparagus releases moisture when frozen and thawed, which compromises both the texture of the vegetable and the coating’s ability to crisp up properly.
Serving Suggestions
These asparagus fries work beautifully as an appetizer for gatherings. Arrange them on a platter with small bowls of different dipping sauces—a garlicky aioli, tangy ranch, spicy sriracha mayo, or even a simple squeeze of fresh lemon juice. The variety of sauces lets people customize their experience.
As a side dish, they pair particularly well with grilled proteins. Serve them alongside steak, chicken, or fish for a lighter alternative to traditional fries or roasted vegetables. They also work great with burgers—the spicy, crispy coating provides an interesting contrast to a juicy burger without making the meal feel too heavy.
For a complete vegetarian meal, serve these with a grain bowl or over quinoa with a fried egg on top. The runny yolk acts as a rich sauce that complements the crispy coating. Add some cherry tomatoes and avocado, and you have a satisfying lunch or dinner.
They’re also excellent for brunch. Pair them with scrambled eggs, bacon, and toast for a meal that feels special but comes together quickly. The crispy, savory asparagus adds a sophisticated touch to the typical brunch lineup.
FAQ
Can I use frozen asparagus for this recipe?
Fresh asparagus works best here. Frozen asparagus contains too much moisture and tends to become mushy when cooked. If you absolutely need to use frozen, thaw it completely, then press it between layers of paper towels to remove as much moisture as possible before coating. Be aware that the results won’t be quite as crispy.
Why isn’t my coating staying on the asparagus?
This usually comes down to moisture. Make sure your asparagus is completely dry before you start coating. Also, let the excess egg wash drip off before moving to the breadcrumb mixture. Press the breadcrumbs on gently but firmly, and don’t skip the oil spray or brush before baking—this helps bind everything together.
Can I make these in an air fryer?
Absolutely. Preheat your air fryer to 400°F. Arrange the coated asparagus in a single layer in the basket, working in batches if needed. Cook for 8 to 10 minutes, shaking the basket halfway through. They’ll get even crispier than the oven version, though you’ll need to work in smaller batches.
What’s the best way to trim asparagus?
Hold a spear in both hands and bend it gently. It will naturally snap at the point where the woody end meets the tender part. You can use this first spear as a guide and cut the rest of the bunch to match, or snap each one individually. Some people prefer to use a vegetable peeler to remove the tough outer skin from the bottom few inches instead of trimming, which wastes less of the asparagus.
How do I know when they’re done cooking?
The coating should be golden brown and crispy to the touch. The asparagus itself should be tender when pierced with a fork but still have a slight firmness—not mushy. If the coating is browning too quickly before the asparagus is cooked through, lower the oven temperature to 400°F and add a few extra minutes to the cooking time.
Final Thoughts
There’s something satisfying about taking a vegetable that people often overlook and turning it into something everyone gets excited about. These chili-garlic asparagus fries manage to be both healthy and crave-worthy, which is a balance that’s harder to achieve than it sounds. They prove that you don’t need a deep fryer or a pile of potatoes to get that crispy, snackable texture we all love.
The beauty of this recipe is its simplicity. You’re not dealing with complicated techniques or hard-to-find ingredients. It’s just fresh asparagus, a well-seasoned coating, and some heat. But the end result feels special enough to serve to guests while being easy enough for a weeknight side dish. Give them a try the next time you’re looking for a way to make vegetables more exciting. I think you’ll be reaching for asparagus more often than you expect.