
Follow Me On Social Media!

Chocolate Marshmallow Swirl Cookies: Fudgy, Gooey, and Bakery-Worthy.
The idea for these chocolate marshmallow swirl cookies came from a late-night craving and a bag of mini marshmallows that had been sitting in my pantry for weeks. I wanted something more interesting than regular chocolate chip cookies but didn’t want to spend hours in the kitchen. What emerged from that experiment was a cookie that looks bakery-fancy but comes together with minimal effort—rich chocolate dough swirled with melted marshmallow that creates pockets of gooey sweetness in every bite.
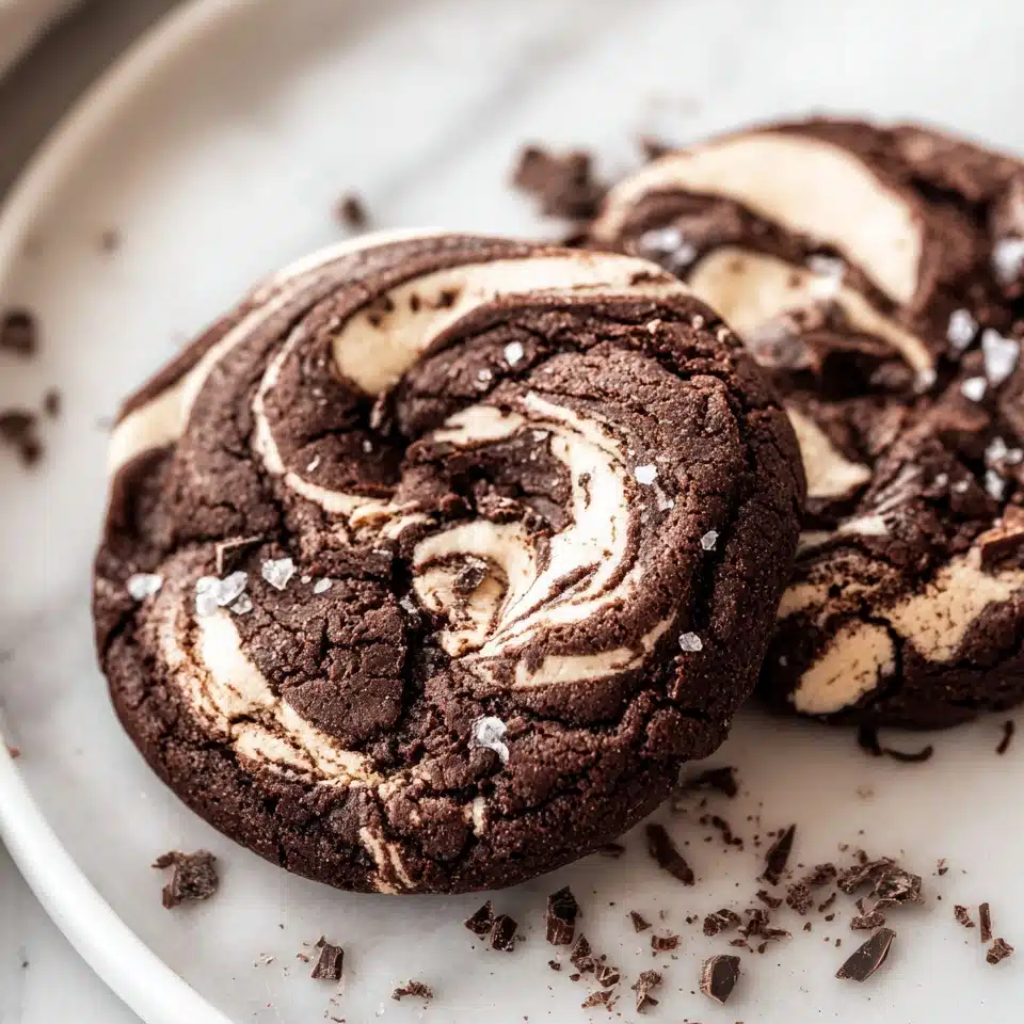
These cookies walk the line between fudgy brownie and classic cookie, with a slightly crisp edge that gives way to a soft, almost molten center. The marshmallow doesn’t just sit on top—it gets swirled into the dough before baking, creating those beautiful marbled patterns and adding texture that keeps each cookie interesting from first bite to last.
What makes this chocolate cookie recipe special is the technique of toasting the marshmallows slightly before swirling them in. This extra step caramelizes their sugars and creates a deeper flavor that complements the dark chocolate rather than just adding generic sweetness. The result is a cookie that tastes complex and thoughtful, even though the actual process is straightforward enough for a weeknight baking session.
Whether you’re baking for a special occasion, need something impressive for a cookie swap, or just want to elevate your everyday chocolate cookie game, these marshmallow swirl cookies deliver visual impact and serious flavor without requiring advanced baking skills.
Ingredients
For the Cookie Dough:
- 1 cup (2 sticks) unsalted butter, softened
- 3/4 cup granulated sugar
- 3/4 cup packed light brown sugar
- 2 large eggs, at room temperature
- 2 teaspoons vanilla extract
- 2 cups all-purpose flour
- 3/4 cup unsweetened cocoa powder
- 1 teaspoon baking soda
- 1/2 teaspoon baking powder
- 1/2 teaspoon salt
- 1 cup dark chocolate chips or chunks
For the Marshmallow Swirl:
- 2 cups mini marshmallows
- 2 tablespoons butter
- 1/4 teaspoon vanilla extract
- Pinch of salt
Optional Add-ins:
- 1/2 cup chopped walnuts or pecans
- Flaky sea salt for sprinkling on top
Instructions
Start by preparing your workspace and ingredients. Preheat your oven to 350°F and line two baking sheets with parchment paper. Make sure your butter and eggs are at room temperature—this ensures they’ll incorporate smoothly and create the right texture in the finished cookies.
In a large bowl, cream together the softened butter, granulated sugar, and brown sugar using an electric mixer on medium speed. Beat for about 3-4 minutes until the mixture is light and fluffy. This step is crucial because it incorporates air into the dough, which helps create that perfect texture. The mixture should look noticeably paler and almost doubled in volume.
Add the eggs one at a time, beating well after each addition. Scrape down the sides of the bowl to ensure everything incorporates evenly. Add the vanilla extract and mix until combined. The mixture might look slightly curdled at this point—that’s completely normal.
In a separate bowl, whisk together the flour, cocoa powder, baking soda, baking powder, and salt. Make sure to break up any lumps in the cocoa powder as you whisk. Add the dry ingredients to the wet ingredients in two additions, mixing on low speed just until no flour streaks remain. Don’t overmix, or your cookies will be tough. Fold in the chocolate chips using a spatula or wooden spoon.
Now for the marshmallow swirl, which is what makes these cookies special. In a medium saucepan over low heat, melt the butter. Add the mini marshmallows and stir constantly until they’re completely melted and smooth. This takes about 3-4 minutes. Remove from heat and stir in the vanilla extract and a pinch of salt. The mixture should be glossy and pourable but thick enough to hold a ribbon when you lift your spoon.
Let the marshmallow mixture cool for about 5 minutes—it should still be warm and pliable but not so hot that it will completely melt into the cookie dough. This is the sweet spot where it will create those beautiful swirls without disappearing entirely.
Drop heaping tablespoons of cookie dough onto your prepared baking sheets, spacing them about 2 inches apart. These cookies will spread, so don’t crowd them. Using a spoon, drop about a teaspoon of the marshmallow mixture on top of each cookie dough mound. Then, using a toothpick or skewer, gently swirl the marshmallow into the top of the cookie dough. You want to create a marbled effect—too much swirling and everything blends together, too little and you lose the visual impact.
Bake for 11-13 minutes. The cookies are done when the edges are set but the centers still look slightly underdone. They’ll continue cooking on the hot baking sheet after you remove them from the oven. This is key to getting that fudgy center—if you wait until they look completely done in the oven, they’ll be too dry once they cool.
Let the cookies cool on the baking sheet for 5 minutes before transferring to a wire rack. During this time, they’ll set up and become easier to move. If you want to add a finishing touch, sprinkle a few flakes of sea salt on top while they’re still warm.

Flavor & Texture Notes
These chocolate marshmallow cookies are seriously rich. The chocolate flavor is deep and slightly bitter from the cocoa powder, balanced by the sweetness of both sugars and those pockets of melted marshmallow. Each bite offers something different depending on where you hit—sometimes pure chocolate cookie, sometimes a swirl of sweet marshmallow, sometimes a bit of both together with a chocolate chip for good measure.
The texture is what really sets these apart. The edges have that slight crispness that gives way to a center that’s almost brownie-like in its density and moisture. The marshmallow creates these chewy, stretchy pockets that contrast beautifully with the fudgy cookie base. When the cookies are still slightly warm, the marshmallow swirls are gooey and molten. As they cool, they become chewier but never hard.
The dark chocolate chips add little bursts of intensity throughout, and if you’ve added nuts, they provide a welcome crunch that breaks up the softness. The optional sea salt on top does something magical—it amplifies the chocolate flavor and makes the sweetness more complex rather than one-dimensional.
These cookies are substantial. One is satisfying, two feels like a proper treat, and three might be excessive but understandable given how good they are.
Tips & Variations
Cocoa Powder Matters: Use good quality unsweetened cocoa powder—it makes a real difference in the final flavor. Dutch-processed cocoa will give you a darker color and mellower flavor, while natural cocoa powder is more acidic and intense. Either works, but they’ll taste slightly different.
Marshmallow Alternatives: If you don’t want to melt marshmallows, you can use marshmallow fluff instead. Heat it briefly with the butter to make it more pourable, then swirl as directed. You can also use large marshmallows—just chop them first or use fewer pieces.
Flavor Variations: Add 1/2 teaspoon of espresso powder to the dry ingredients to intensify the chocolate flavor. A few drops of peppermint extract in the marshmallow mixture creates a mint chocolate version. Orange zest in the dough pairs beautifully with dark chocolate.
Make Them Smaller or Larger: For bite-sized treats, use a cookie scoop to make smaller portions and reduce baking time to 8-10 minutes. For giant bakery-style cookies, use 1/4 cup portions and increase baking time to 14-16 minutes.
Storage Tip: These cookies stay soft and fudgy when stored in an airtight container. Adding a slice of bread to the container helps maintain moisture—the cookies will absorb moisture from the bread, keeping them soft for days.
Gluten-Free Option: You can substitute a 1:1 gluten-free flour blend for the all-purpose flour. The texture will be slightly different but still delicious.
Storage & Make-Ahead
These cookies keep exceptionally well, which makes them perfect for baking ahead or for gift-giving. Store them in an airtight container at room temperature for up to 5 days. Layer them between sheets of parchment paper to prevent sticking, especially if your kitchen is warm and the marshmallow swirls are still soft.
For longer storage, these cookies freeze beautifully. Place cooled cookies in a single layer on a baking sheet and freeze until solid, then transfer to a freezer bag or container. They’ll keep for up to 3 months. Thaw at room temperature for about 30 minutes before serving, or warm them in a 300°F oven for a few minutes to get that fresh-baked experience.
You can also freeze the cookie dough for future baking. Scoop the dough into portions, arrange on a baking sheet, and freeze until solid. Transfer the frozen dough balls to a freezer bag. When ready to bake, prepare the marshmallow mixture fresh, add it to the frozen dough balls, and bake from frozen, adding 1-2 minutes to the baking time.
The unbaked dough can be refrigerated for up to 3 days, which is great for planning ahead. Let it sit at room temperature for about 15 minutes before scooping and baking.
Serving Suggestions
These cookies are rich enough to stand alone with a glass of cold milk, which is honestly the perfect pairing. The milk cuts through the chocolate intensity and helps with those gooey marshmallow bits. For a more adult beverage pairing, strong coffee or a rich hot chocolate complements the deep chocolate flavor without competing with it.
Serve them slightly warm for the ultimate experience—warm enough that the marshmallow swirls get soft and stretchy again. You can reheat room-temperature cookies in a 300°F oven for 3-4 minutes, just until warm throughout.
For special occasions, turn these into ice cream sandwiches. Let the cookies cool completely, then sandwich your favorite ice cream between two cookies. Vanilla ice cream is classic, but coffee or salted caramel ice cream takes these to another level. Wrap individually in plastic wrap and freeze for an impressive make-ahead dessert.
These cookies also make wonderful gifts. Stack them in a clear cellophane bag tied with ribbon, or arrange them in a decorative tin lined with parchment paper. The marbled appearance makes them look like you put in way more effort than you actually did.
FAQ
Why did my marshmallow swirls disappear during baking? This usually happens when the marshmallow mixture is too hot when you add it to the dough, or if you swirled it in too deeply. Make sure to let the melted marshmallow cool for about 5 minutes before adding it to the cookies, and keep your swirls on the surface rather than mixing them all the way through the dough.
Can I use regular-sized marshmallows instead of minis? Yes, but you’ll need to cut them into smaller pieces first, or they won’t melt smoothly. Mini marshmallows are easier to work with because they melt more evenly and quickly. If using large marshmallows, use about 20-24 marshmallows total and chop them roughly before melting.
My cookies spread too much. What went wrong? Several things can cause excessive spreading: butter that’s too soft or melted, dough that’s too warm, or not enough flour. Make sure your butter is softened but not melted—it should hold its shape when pressed. If your kitchen is very warm, chill the dough for 30 minutes before baking.
How do I know when these cookies are done? These cookies should look slightly underdone in the center when you remove them from the oven. The edges will be set and the surface will look dry, but the center will still appear soft. They continue cooking on the hot baking sheet after you remove them, so taking them out at this point prevents over-baking.
Can I add other mix-ins to these cookies? Absolutely. Chopped nuts, toffee bits, white chocolate chips, or even crushed graham crackers would all work well. Just don’t add more than 1 cup of total mix-ins beyond the chocolate chips, or the cookies might not hold together properly.
There’s something deeply satisfying about pulling a tray of these chocolate marshmallow swirl cookies out of the oven and watching those marbled tops crack slightly as they cool. They’re the kind of cookie that makes people ask for the recipe, not because they’re complicated, but because they deliver so much flavor and visual appeal with relatively simple techniques. Whether you’re a confident baker or just starting out, these cookies prove that impressive results don’t always require advanced skills—just good ingredients and a little attention to timing. Grab that bag of marshmallows and get baking.