
Follow Me On Social Media!

Butterfinger Bomb Cake: The Ultimate Chocolate Peanut Butter Dessert.
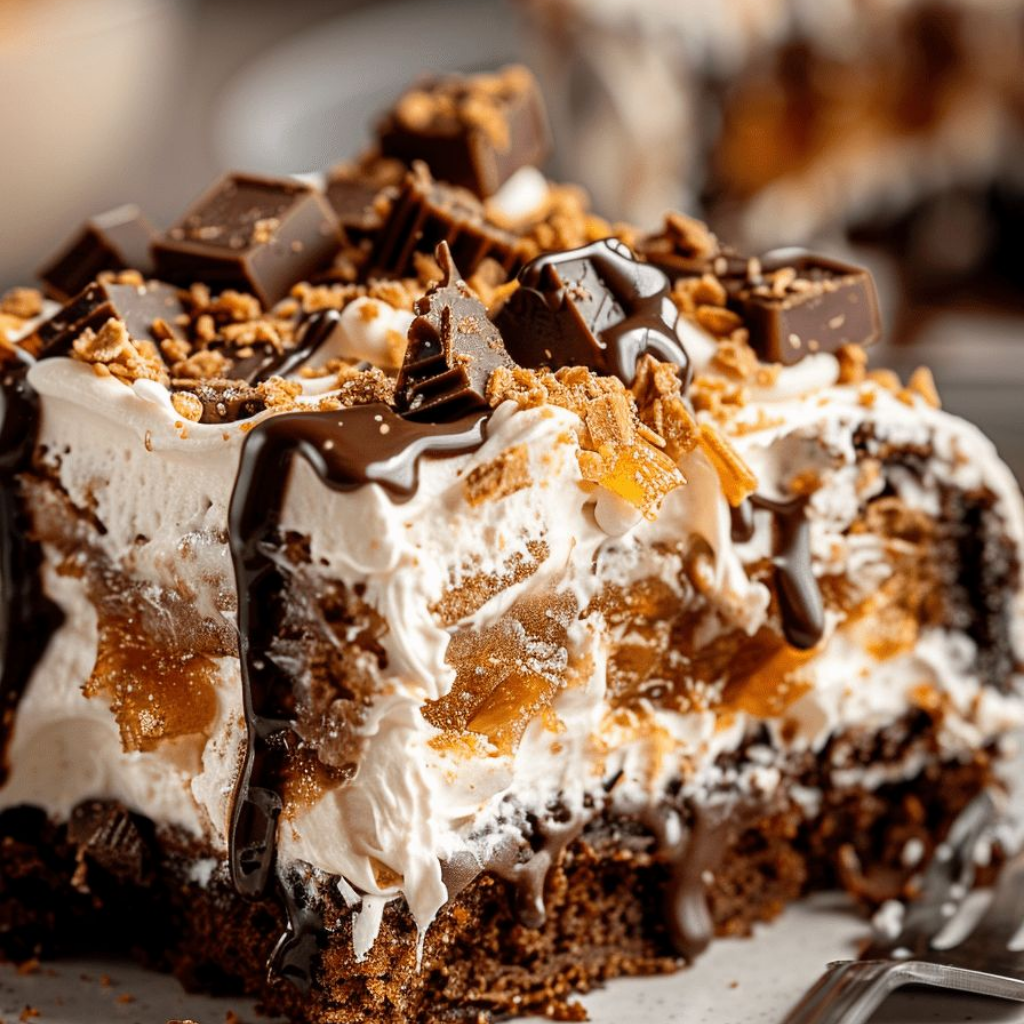
There are birthdays, and then there are birthdays that demand something over-the-top. This Butterfinger bomb cake was born from one of those occasions—my nephew’s request for “the most chocolate cake you can make, with lots of candy.” What started as a simple chocolate cake evolved into this layered masterpiece: rich chocolate cake, creamy peanut butter frosting, and crushed Butterfinger bars creating that signature crispy, sweet-salty crunch in every bite.
The name “bomb” isn’t just marketing—it refers to how this cake hits you with multiple layers of flavor and texture all at once. The moist chocolate cake provides the foundation, the peanut butter buttercream adds richness without being cloying, and those Butterfinger pieces scattered throughout create surprise pockets of crispy, caramelized peanut butter that contrast beautifully with the soft cake.
What makes this chocolate Butterfinger cake special is how it balances intensity with actual flavor. Many over-the-top desserts are just sweet for the sake of being sweet, but this one has dimension. The slight bitterness of dark cocoa plays against the sweetness of the Butterfingers, while the peanut butter frosting ties everything together with its creamy, nutty richness.
This cake requires some time and effort, but none of the techniques are particularly difficult. If you can make a box cake and buttercream frosting, you can make this. The impressive presentation and incredible taste make it worth the work, especially when you see people’s faces light up at first bite.
Ingredients
For the Chocolate Cake:
- 2 cups all-purpose flour
- 2 cups granulated sugar
- 3/4 cup unsweetened cocoa powder
- 2 teaspoons baking soda
- 1 teaspoon baking powder
- 1 teaspoon salt
- 2 large eggs, room temperature
- 1 cup buttermilk, room temperature
- 1 cup hot strong coffee (or hot water)
- 1/2 cup vegetable oil
- 2 teaspoons vanilla extract
For the Peanut Butter Buttercream:
- 1 cup unsalted butter, softened to room temperature
- 1 cup creamy peanut butter (not natural style)
- 4 cups powdered sugar
- 1/4 cup heavy cream
- 2 teaspoons vanilla extract
- 1/4 teaspoon salt
For Assembly and Decoration:
- 8-10 full-size Butterfinger candy bars, crushed into various sizes
- 1/2 cup chocolate ganache (optional, for drizzle)
- Additional Butterfinger pieces for topping
For the Chocolate Ganache (optional):
- 4 ounces semi-sweet chocolate chips
- 1/4 cup heavy cream
Instructions
Begin by preparing your pans and preheating the oven, which ensures even baking from the start. Preheat the oven to 350°F and grease two 9-inch round cake pans thoroughly with butter or baking spray. Line the bottoms with parchment paper circles for easy removal—this extra step prevents heartbreak when unmolding.
In a large mixing bowl, sift together the flour, sugar, cocoa powder, baking soda, baking powder, and salt. Sifting isn’t just for show here—cocoa powder tends to clump, and sifting ensures even distribution throughout the batter. The combination of baking soda and baking powder provides the right lift and texture.
In a separate bowl, whisk together the eggs, buttermilk, oil, and vanilla until well combined. The eggs should be at room temperature so they incorporate smoothly without deflating the batter. Pour these wet ingredients into the dry ingredients and mix with an electric mixer on medium speed for about 2 minutes until well combined.
Here comes the surprising step: slowly add the hot coffee to the batter while mixing on low speed. The batter will become very thin—this is correct. The hot liquid blooms the cocoa powder, intensifying the chocolate flavor and creating an incredibly moist cake. Don’t skip this step even though the thin batter might make you nervous.
Divide the batter evenly between the prepared pans. I like to use a kitchen scale to ensure equal layers, but eyeballing works too. Bake for 30-35 minutes, or until a toothpick inserted into the center comes out with just a few moist crumbs. The cakes will pull away slightly from the sides of the pans when done.
Let the cakes cool in their pans for 10 minutes, then carefully turn them out onto wire racks. Remove the parchment paper and let them cool completely before frosting—at least 2 hours. Frosting warm cake will result in melted frosting and a mess.
While the cakes cool, make the peanut butter buttercream. Beat the softened butter in a large bowl with an electric mixer until creamy and smooth, about 2 minutes. Add the peanut butter and beat for another minute until fully incorporated. The mixture should be fluffy and lighter in color.
Gradually add the powdered sugar, one cup at a time, beating on low speed after each addition. Once all the sugar is incorporated, add the heavy cream, vanilla, and salt. Increase the mixer speed to high and beat for 3-4 minutes until the frosting is light, fluffy, and spreadable. If it’s too thick, add more cream one tablespoon at a time. If too thin, add more powdered sugar.
Crush the Butterfinger bars into various-sized pieces. Some should be fine crumbs, others chunky pieces. This variety creates interesting texture throughout the cake. The easiest method is to place them in a zip-top bag and bash them with a rolling pin or the bottom of a heavy pan.
To assemble, place one cake layer on your serving plate. Spread about one-third of the peanut butter frosting evenly over the top. Sprinkle generously with crushed Butterfinger pieces, pressing them gently into the frosting. Place the second layer on top and spread the remaining frosting over the top and sides of the entire cake.
Press more crushed Butterfinger pieces into the sides of the cake and pile them generously on top. If making the chocolate ganache, heat the cream until just simmering, pour it over the chocolate chips, let sit for 2 minutes, then stir until smooth. Drizzle this over the top of the cake, letting it drip down the sides for a dramatic finish.
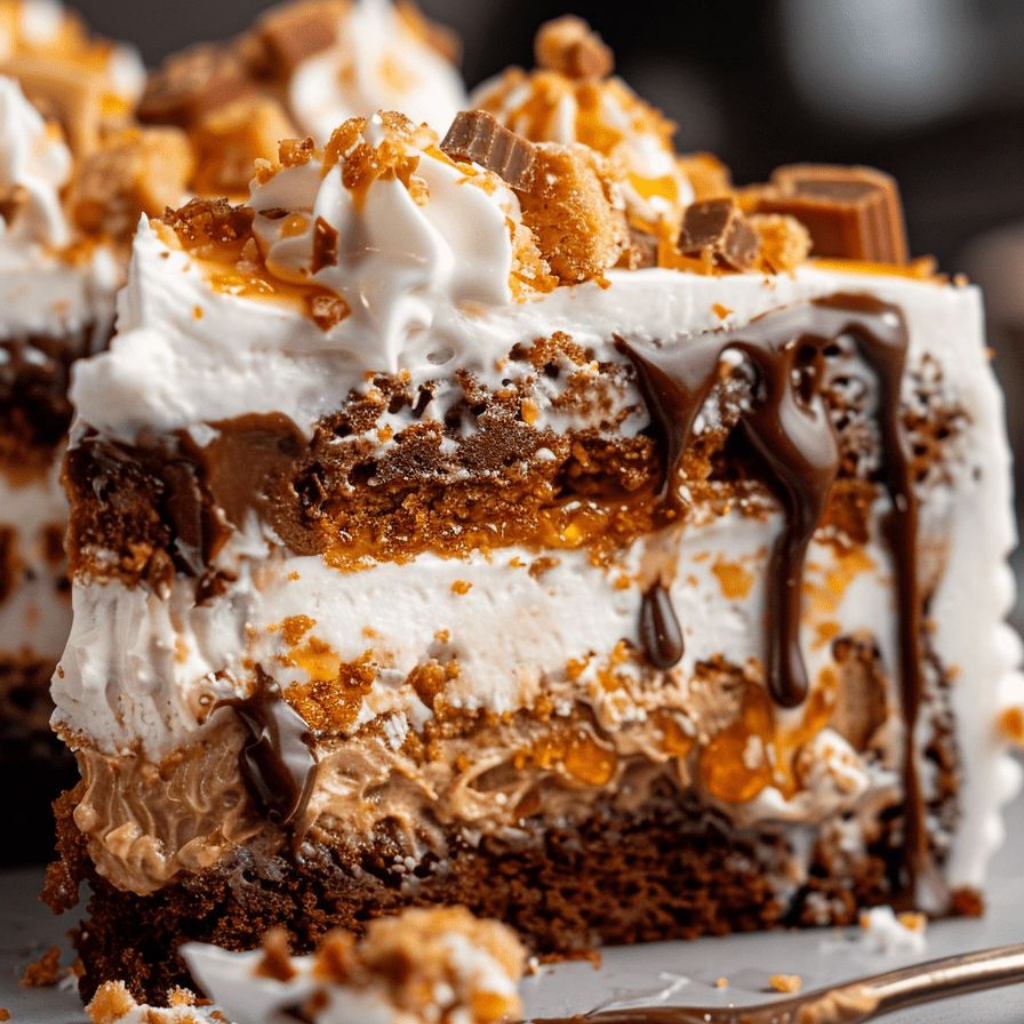
Flavor & Texture Notes
This Butterfinger bomb cake delivers on every promise its name makes. The chocolate cake itself is remarkably moist—almost fudgy—with a deep, genuine chocolate flavor that comes from both the cocoa powder and the hot coffee. It’s not aggressively sweet, which allows the other components to shine.
The peanut butter buttercream is where magic happens. It’s rich and creamy with a pronounced peanut butter flavor that’s somehow both comforting and luxurious. The frosting isn’t overly sweet, which is crucial when you’re adding candy to the mix. It acts as a perfect bridge between the chocolate cake and the crunchy Butterfinger pieces.
The Butterfinger bars create unexpected bursts of crispy, honeycomb-like texture throughout. That distinctive Butterfinger flavor—crispy peanut butter with caramelized sugar—adds complexity and prevents the cake from being monotonous. Some pieces soften slightly where they touch the frosting, creating a chewy texture, while others stay crispy.
Each bite offers something different depending on where your fork lands: pure chocolate cake, creamy frosting, crunchy candy, or some combination. This textural variety keeps the cake interesting even though it’s quite rich. The slight saltiness from the peanut butter and candy balances the sweetness, making it easier to enjoy a full slice.
Tips & Variations
Candy Bar Alternatives: If Butterfinger isn’t your favorite, this same technique works with Reese’s Peanut Butter Cups, Snickers, or Heath bars. Each creates a different flavor profile but the construction stays the same. Reese’s makes it more peanut-butter-forward, while Heath adds a buttery toffee element.
Make It Ahead: The cake layers can be baked a day in advance, wrapped tightly in plastic wrap, and stored at room temperature. Some bakers even freeze cake layers for up to a month before assembling. The buttercream can also be made a day ahead and refrigerated—just bring it to room temperature and re-whip before using.
Size Adjustments: This recipe makes a two-layer 9-inch cake that serves 12-14 people. For a taller cake, make 1.5 times the recipe and divide among three pans, adjusting the baking time to 25-28 minutes. For cupcakes, fill liners two-thirds full and bake for 18-20 minutes.
Coffee Substitute: If you don’t drink coffee or want to avoid caffeine, hot water works fine. The coffee enhances chocolate flavor without making the cake taste like coffee, but water still produces a good cake. Hot brewed black tea is another option that adds subtle depth.
Frosting Variations: Make this a chocolate bomb cake by using chocolate buttercream instead of peanut butter. Or do half and half—peanut butter frosting between the layers and chocolate on the outside. A cream cheese frosting with peanut butter folded in offers a tangier alternative.
Less Sweet Version: Reduce the sugar in the cake to 1.5 cups if you prefer less sweetness. Use dark chocolate for the ganache instead of semi-sweet. Choose a peanut butter with less added sugar, though avoid natural peanut butter which can make the frosting separate.
Storage & Make-Ahead
This cake keeps surprisingly well due to its moisture content. Store it in an airtight cake container or covered with a cake dome at room temperature for up to 3 days. If your kitchen is very warm, refrigerate it, but let it come to room temperature for 30 minutes before serving for the best texture.
The cake can be frozen after assembly for up to a month. Freeze it uncovered for an hour to set the frosting, then wrap carefully in plastic wrap and aluminum foil. Thaw in the refrigerator overnight, then bring to room temperature before serving. The Butterfinger pieces may soften slightly after freezing but will still taste great.
Individual slices can be wrapped and frozen for easy single servings. This is actually a great strategy if you’re not feeding a crowd—you can enjoy the cake over several weeks without it getting stale.
The buttercream frosting can be made up to a week ahead and refrigerated in an airtight container. Let it come completely to room temperature and beat it again with a mixer before using to restore its fluffy texture.
Serving Suggestions
This Butterfinger cake is rich and substantial—a small slice goes a long way. Serve it with cold milk, hot coffee, or even a scoop of vanilla ice cream if you’re feeling particularly over-the-top. The ice cream actually works beautifully, melting slightly against the cake and creating a peanut-butter-and-chocolate sundae effect.
For birthday parties, this cake is an absolute showstopper. The crushed candy on the outside makes it look festive even without elaborate decorating skills. Place some whole Butterfinger bars around the base for extra decoration, or add birthday candles that sink right into that soft frosting.
Cut slices with a large, sharp knife that you’ve run under hot water and dried. The hot knife cuts through the frosting and cake more cleanly. Wipe the knife between slices for the neatest presentation.
This cake is so rich that it’s best served as the main event rather than after a heavy meal. Consider pairing it with simple refreshments like coffee, tea, or lemonade rather than other desserts. It holds its own at potlucks and bake sales—everyone will want the recipe.
FAQ
Can I use a box cake mix instead of making the cake from scratch? Absolutely. Use a chocolate cake mix prepared according to package directions, but substitute hot coffee for the water. The homemade buttercream and Butterfinger additions will still make it special. This is a great shortcut if you’re short on time or intimidated by from-scratch baking.
Why is my buttercream too soft or too stiff? Temperature affects buttercream significantly. If it’s too soft, refrigerate it for 15 minutes, then beat again. If it’s too stiff, add more heavy cream one tablespoon at a time. Make sure your butter was properly softened (not melted) to start with—it should give when pressed but not be greasy.
How do I prevent cake layers from doming in the middle? Use cake strips around your pans (you can buy these or make them from wet towels and aluminum foil). They insulate the sides so the cake bakes more evenly. You can also reduce your oven temperature by 25°F and bake a bit longer. If the cakes still dome, level them with a serrated knife before frosting.
Can I make this cake dairy-free? The cake itself can be made dairy-free by using a dairy-free milk with a tablespoon of vinegar instead of buttermilk, and vegetable oil instead of butter (the recipe already uses oil). For the frosting, use dairy-free butter and coconut cream instead of heavy cream. Note that many candy bars contain dairy, so check labels.
How far in advance can I assemble the cake? You can fully assemble and decorate this cake up to 24 hours before serving. Store it at room temperature if your kitchen is cool, or refrigerate it if needed. The Butterfinger pieces may soften slightly over time where they touch the frosting, but this doesn’t significantly impact the taste.
There’s something deeply satisfying about creating a cake that makes people’s eyes light up before they’ve even tasted it. This Butterfinger bomb cake combines familiar flavors—chocolate, peanut butter, and that iconic candy bar—in a way that feels both nostalgic and celebratory. Whether you’re marking a special occasion or just want to treat yourself to something spectacular, this cake delivers pure joy in every bite. The best part? Watching someone take their first forkful and seeing their face register all those layers of flavor and texture at once. That reaction alone makes it worth every minute of effort.