Follow Me On Social Media!

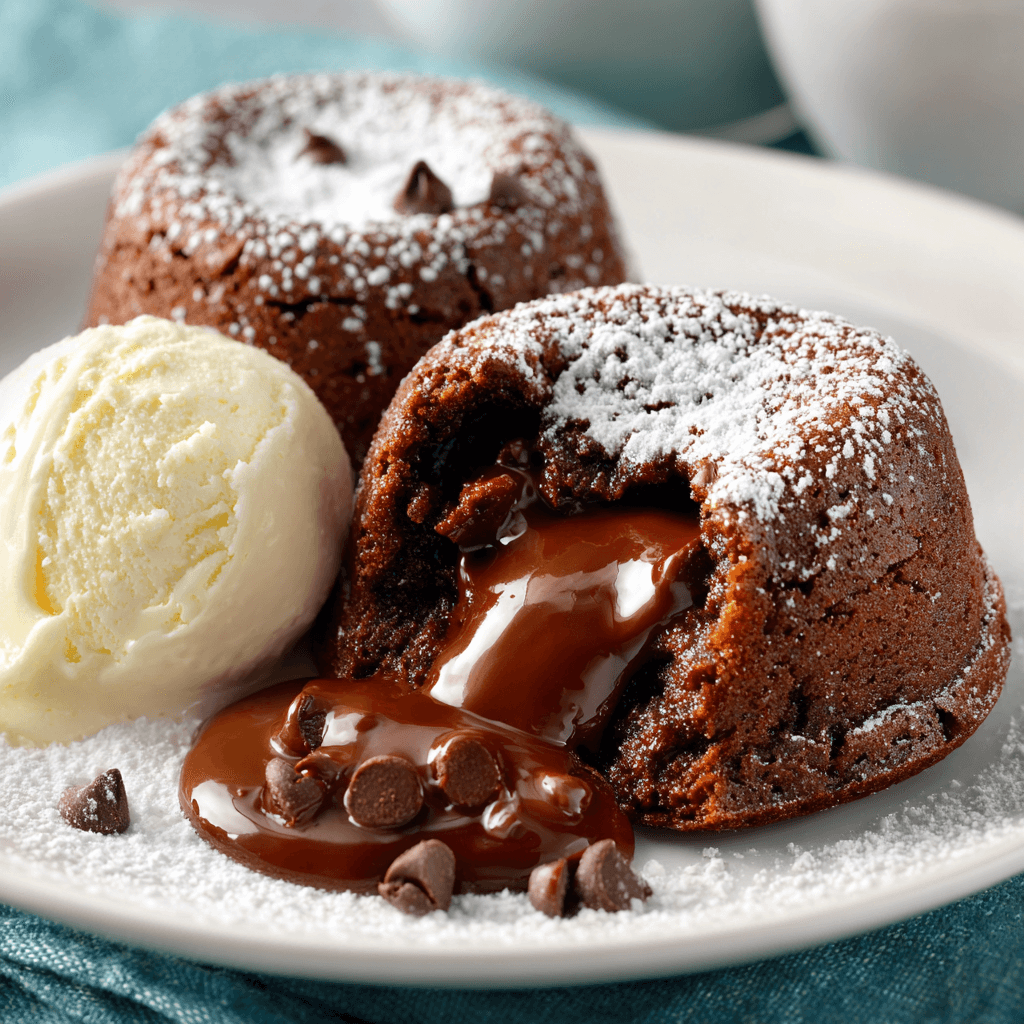
Molten Chocolate Lava Cakes – Decadent, Gooey & Made Easy.
The “Molten” effect in a lava cake isn’t achieved by an uncooked center in the traditional sense, but rather through a high fat-to-flour ratio and a precise timing technique that sets the outer cake wall while leaving the interior in a liquid, ganache-like state.
The Chemistry of the “Lava”
Success depends on understanding the structural integrity of the cake versus the temperature of the core.
| Stage | Texture | Culinary Status |
| Underbaked | Collapses upon inversion; raw batter | Failed structural wall. |
| Perfect | Firm sides, slightly soft top; liquid center | The Sweet Spot. |
| Overbaked | Solid throughout; spongy texture | You’ve made a high-quality brownie. |
Ingredients (Yields 4 Ramekins)
- 6 oz (170g) High-Quality Bittersweet Chocolate: (60% to 70% cacao is ideal). Avoid chocolate chips; they contain stabilizers that prevent a smooth melt.1
- 1/2 cup (115g) Unsalted Butter: Plus more for greasing.
- 2 Large Eggs + 2 Large Egg Yolks: Room temperature. (The extra yolks provide the rich, custardy “lava” texture).2
- 1/4 cup Granulated Sugar.
- 1/2 tsp Vanilla Extract.
- 1/8 tsp Sea Salt.
- 2 tbsp All-Purpose Flour.
- Cocoa Powder: For dusting the ramekins.
Instructions
1. The Ramekin Prep (Critical)
Preheat your oven to 425°F (218°C). Generously grease four 6-ounce ramekins with softened butter.
The Pro Tip: Dust the greased ramekins with cocoa powder instead of flour. This prevents white streaks on the outside of your dark chocolate cake and adds an extra layer of flavor. Tap out the excess.
2. The Chocolate Melt
Using a double boiler or a microwave (in 30-second bursts), melt the chocolate and butter together until completely smooth. Set aside to cool slightly. It should be warm, not hot, when added to the eggs.
3. The Egg Aeration
In a medium bowl, beat the eggs, egg yolks, sugar, vanilla, and salt with a whisk or hand mixer until the mixture is thick, pale, and foamy (about 2 minutes). This aeration provides the “lift” for the cake walls.
4. The Fold
Gently fold the melted chocolate mixture into the egg mixture. Once combined, sift the flour over the top and fold again until just incorporated. Do not over-mix, or the cake will become tough.
5. The High-Heat Bake
Divide the batter evenly among the prepared ramekins.
- Place ramekins on a baking sheet and bake for 12–14 minutes.
- The Visual Cue: The sides should be firm and set, but the center of the top should still look slightly soft and have a small “jiggle” when the tray is moved.
6. The Inversion
Let the cakes sit for exactly 1 minute—this allows the outer wall to stabilize. Run a thin knife around the edge, place a plate over the ramekin, and carefully invert it. Let it sit for 10 seconds before lifting the ramekin off.
Culinary Tips for Success
- Chocolate Quality: Since there is very little flour, the flavor is 90% chocolate. Use a bar you would enjoy eating on its own.
- The “Cold Start” Myth: Do not bake these straight from the fridge if you made the batter ahead of time. Let the batter reach room temperature for 20 minutes before baking, or the outside will burn before the center melts.
- Oven Calibration: Every oven is different. If it’s your first time, bake one test cake first to find your perfect timing before committing the whole batch.
FAQ
Can I make these ahead of time?
Yes. You can prepare the batter and fill the ramekins up to 2 days in advance.3 Cover them with plastic wrap and store in the fridge.
What if I don’t have ramekins?
You can use a standard muffin tin. Grease and coat with cocoa powder heavily. Reduce bake time to 8–10 minutes as the portions will be smaller.
Is the center safe to eat?
Yes. Because the cake is baked at a high temperature ($425^{\circ}F$), the internal “lava” typically reaches a temperature sufficient to pasteurize the eggs, even if it remains liquid.
Would you like me to find a recipe for a “Raspberry Balsamic Reduction” to drizzle over these cakes to cut through the richness of the chocolate?