Follow Me On Social Media!

Protein Cheesecake Cups – Mini, Creamy & High-Protein.
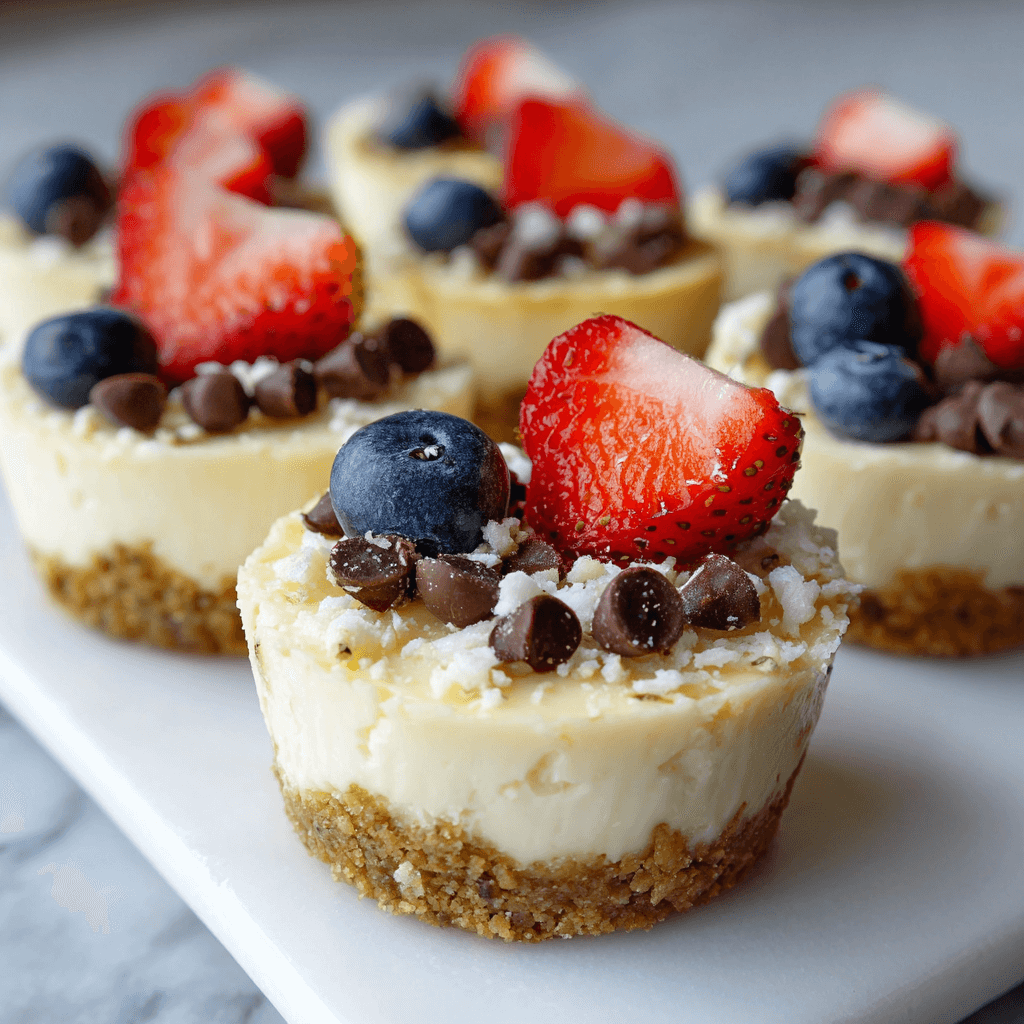
There’s something satisfying about having a sweet treat ready in the fridge—especially one that feels like dessert but still fits easily into a balanced day. These Protein Cheesecake Cups started as a quick experiment during a busy week when I wanted something with the texture of real cheesecake, but lighter and more protein-forward. After a few rounds of adjusting the mix (some batches were too tart, others too thick), this version settled into my regular rotation.
They’re everything I wanted: creamy, smooth, lightly sweet, and portion-friendly. You can dress them up with whatever toppings you like, keep them simple for meal prep, or turn them into a make-ahead snack that feels far more decadent than the ingredient list suggests. Whether you’re tracking macros, looking for a high-protein dessert, or simply curious about a fun no-bake recipe, these cheesecake cups fit right in.
Ingredients
For the Filling
- 8 oz light cream cheese, softened
- 1 cup Greek yogurt (2% or nonfat both work)
- 1 scoop vanilla or cheesecake-flavored protein powder
- 3 tbsp maple syrup, honey, or your preferred sweetener
- 1 tsp vanilla extract
- Pinch of salt
- 1–2 tbsp milk, only if needed to adjust consistency
Optional Crust
- 1 cup crushed graham crackers or digestive biscuits
- 2 tbsp melted butter (or coconut oil)
- 1 tbsp sugar or sweetener (optional)
Toppings (Optional)
- Fresh berries
- Mini chocolate chips
- Peanut butter drizzle
- Whipped cream
- Lemon zest
- Crushed graham crackers
- Melted chocolate
Instructions
1. Prepare the Crust (Optional)
If you want the classic cheesecake bite, the crust adds a nice contrast.
Stir together the crushed crackers, melted butter, and sweetener. Mix until the texture resembles damp sand.
Spoon 1–2 tablespoons into the bottom of each muffin liner or small cup, pressing it down firmly with the back of a spoon. Set aside while you make the filling.
2. Whip the Filling
In a medium bowl, beat the softened cream cheese until smooth. This step helps ensure you don’t end up with clumps later.
Add Greek yogurt, protein powder, vanilla extract, and sweetener. Whip again until creamy and uniform.
If the mixture feels extra thick—some protein powders make it dense—add a splash of milk. You want a silky, spoonable consistency.
3. Assemble the Cups
Scoop the filling over the crust (or directly into the cups if skipping the crust).
Smooth the tops with a spoon or spatula. Little swirls on top make them look bakery-ready with zero effort.
4. Chill
Cover and refrigerate for 2–3 hours. This helps the filling firm up and the flavors settle.
If you’re impatient, the freezer will set them in about 20–30 minutes.
Flavor & Texture Notes
These cheesecake cups land somewhere between traditional cheesecake and a light mousse. The cream cheese provides the structure and signature tang, while the Greek yogurt brings a fresh brightness. The protein powder thickens the mix and adds natural sweetness, giving each bite a soft, smooth finish.
The cups hold their shape well once chilled, but still feel airy enough that you don’t need a fork—you can eat them with a spoon straight from the container.
If you go for the graham cracker crust, you’ll get a little contrast between crunchy and creamy. Without the crust, they’re lighter, more pudding-like, and great for a macro-friendly dessert.
Tips & Variations
Choosing the Right Protein Powder
Not all powders behave the same.
- Whey or whey-blend powders create the smoothest texture.
- Plant-based powders work but may make the mixture thicker—add an extra tablespoon of milk if needed.
- Avoid powders with gritty textures, as they can affect the finish.
Sweetness Adjustments
Taste as you go. Protein powders vary in sweetness, so you may want more or less maple syrup depending on your preference.
Crust Alternatives
If you’re avoiding graham crackers or want a lower-carb option, try:
- Crushed almonds or pecans mixed with a splash of melted butter
- A sprinkle of high-fiber cereal
- A layer of chia seed granola
- A cocoa-based crust using crushed protein cookies
Flavor Variations
These cups are incredibly versatile:
Chocolate Cheesecake Cups
Add 1–2 tbsp cocoa powder and use chocolate protein powder.
Berry Swirl Cheesecake Cups
Swirl in a spoonful of raspberry or blueberry puree before chilling.
Lemon Vanilla Cheesecake Cups
Add 1 tbsp lemon juice and a little lemon zest to the filling.
Cookies & Cream Cheesecake Cups
Stir in crushed chocolate sandwich cookies.
Peanut Butter Cup Style
Use chocolate protein powder and swirl in peanut butter.
Pumpkin Cheesecake Cups
Mix in ¼ cup pumpkin puree and a dash of cinnamon and nutmeg.
For a Firmer Texture
Add 1 tbsp softened coconut oil to the filling before chilling.
For a Fluffier Texture
Whip 2–3 tbsp whipped topping into the mixture before portioning.
Storage & Make-Ahead Tips
These cheesecake cups are perfect for meal prep since they store beautifully.
Refrigerator
Keep them covered in an airtight container for 4–5 days.
The flavor often improves after the first day.
Freezer
Freeze for up to 2 months in a freezer-safe container.
To serve, thaw at room temperature for about 10 minutes or refrigerate overnight.
They taste a bit like mini frozen cheesecake bites right out of the freezer.
Pack for On-The-Go
Use small jars or lidded ramekins if you plan to take them to work or the gym.
Serving Suggestions
These protein cheesecake cups are delicious on their own, but they shine even more with a thoughtful topping:
- Add a spoonful of fruit compote or fresh berries for brightness.
- Drizzle warm peanut butter or almond butter for richness.
- Top with chocolate chips, cacao nibs, or a small amount of crushed cookies.
- Add a bit of whipped cream for a classic feel.
- Sprinkle granola on top for crunch, especially if eating them for breakfast.
If you’re serving them to guests, arrange the cups on a platter with small topping bowls on the side so everyone can build their own combination.
FAQ
1. Can I use regular yogurt instead of Greek yogurt?
You can, but Greek yogurt provides thickness and structure. Regular yogurt will make the filling looser and more pudding-like.
2. My mixture is too thick—what should I do?
Add small splashes of milk until the texture loosens to something smooth and spoonable.
3. Can I blend the filling instead of mixing by hand?
Absolutely. A blender or food processor will make the filling extra silky, just be sure not to overblend or it may become too runny.
4. How do I make these lower-carb?
Skip the crust, use a low-carb sweetener, and choose a low-sugar protein powder.
5. Can I add collagen instead of protein powder?
Collagen doesn’t thicken the same way, so the cups won’t set properly. Stick to whey, casein, or plant protein for this recipe.
Conclusion
These Protein Cheesecake Cups offer all the creamy, smooth satisfaction of classic cheesecake but with a lighter, more everyday feel. They’re quick to assemble, easy to customize, and perfect for keeping in the fridge when you want something sweet that still supports your goals. Whether you add a crust, go big with toppings, or keep them simple and macro-friendly, these mini cheesecakes can fit into just about any routine.