Follow Me On Social Media!

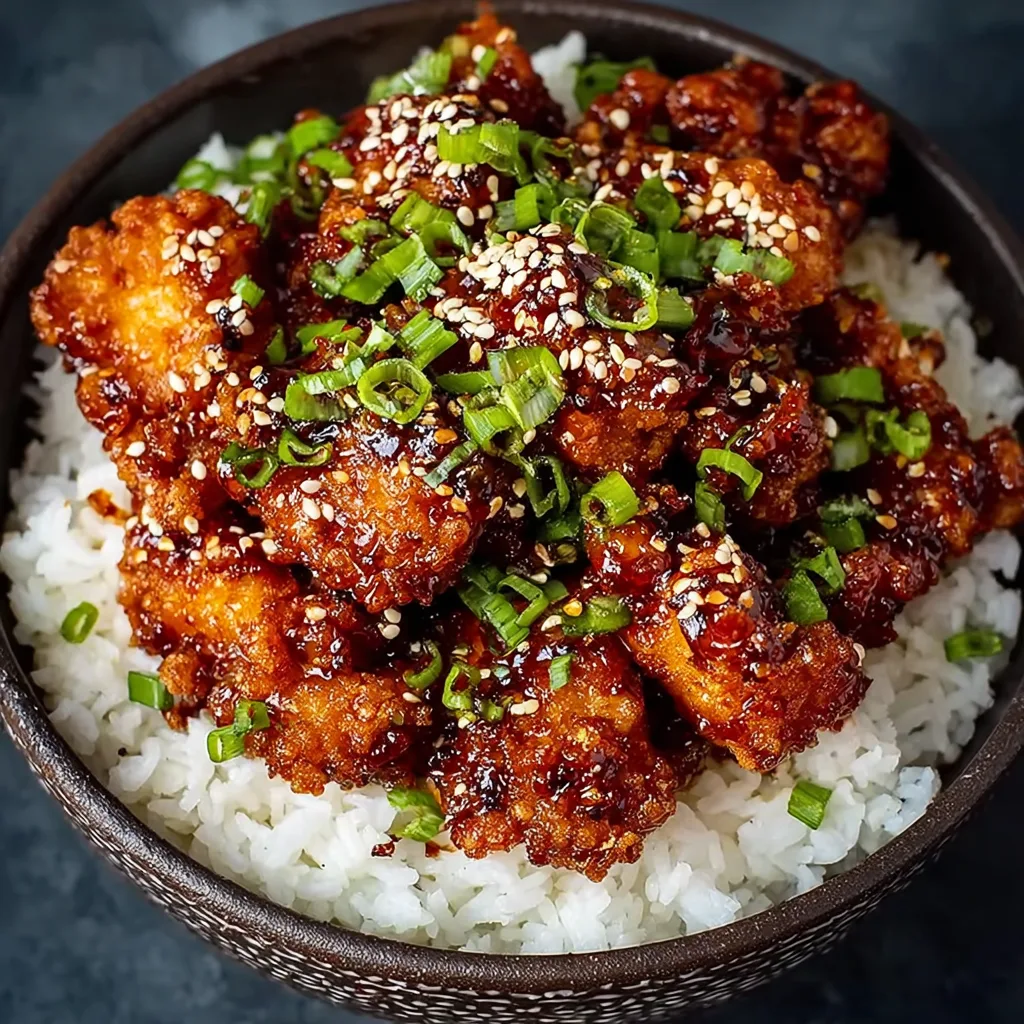
Healthy Sesame Chicken: Crispy Baked Version That Rivals Takeout.
I used to think healthy sesame chicken was an oxymoron. The restaurant version I craved was deeply fried, coated in sugary sauce, and definitely not something that belonged in my weekly meal rotation. Then I discovered that the magic of sesame chicken isn’t actually in the deep frying—it’s in the perfect balance of crispy texture, sweet and tangy sauce, and that distinctive nutty sesame flavor that makes each bite irresistible.
This baked sesame chicken delivers all the satisfaction of your favorite takeout order while sneaking in better-for-you ingredients and cooking methods. Instead of deep frying, we achieve that coveted crispy coating through a smart combination of panko breadcrumbs and a hot oven. The sauce gets its sweetness from honey and a touch of brown sugar rather than corn syrup, while fresh ginger and garlic provide the aromatic foundation that makes homemade always taste better than delivery.
What surprised me most about developing this healthier version was how much more I could taste the individual flavors. Without all that heavy oil masking everything, the sesame really shines, the chicken stays juicy instead of greasy, and the sauce clings perfectly without being overwhelming. It’s become our new Friday night tradition—better than takeout and ready in about the same time it would take for delivery.
This recipe proves that eating healthier doesn’t mean sacrificing the foods you love. Sometimes it just means finding smarter ways to get the same flavors and textures that make a dish special. Whether you’re trying to lighten up your weekly routine or just want to know exactly what’s going into your family’s dinner, this sesame chicken delivers on both nutrition and satisfaction.
Ingredients
For the Chicken:
- 2 pounds boneless, skinless chicken breasts or thighs, cut into 1-inch pieces
- 2 large eggs, beaten
- 1/2 cup all-purpose flour
- 1 1/2 cups panko breadcrumbs
- 2 tablespoons sesame seeds
- 1 teaspoon garlic powder
- 1 teaspoon onion powder
- 1/2 teaspoon salt
- 1/4 teaspoon black pepper
- Cooking spray or 2 tablespoons olive oil
For the Sesame Sauce:
- 1/3 cup low-sodium soy sauce
- 1/4 cup honey
- 3 tablespoons rice vinegar
- 2 tablespoons brown sugar
- 1 tablespoon sesame oil
- 2 cloves garlic, minced
- 1 tablespoon fresh ginger, minced
- 1 tablespoon cornstarch
- 2 tablespoons water
- 1/4 teaspoon red pepper flakes (optional)
For Serving:
- 4 cups cooked brown rice or cauliflower rice
- 3 green onions, thinly sliced
- 2 tablespoons sesame seeds for garnish
- 1 cup steamed broccoli or snap peas (optional)
Instructions
Preheat your oven to 425°F and line a large baking sheet with parchment paper. The high heat is crucial for getting that crispy, golden coating that makes this dish so satisfying. If you have a wire rack that fits your baking sheet, place it on top of the parchment—this allows air to circulate around the chicken pieces for even crispier results.
Set up your breading station with three shallow dishes. In the first, place the flour. In the second, beat the eggs until smooth. In the third, combine the panko breadcrumbs, sesame seeds, garlic powder, onion powder, salt, and pepper. Mix the breadcrumb mixture well to distribute the seasonings evenly—this seasoned coating is what gives the chicken its flavor and texture.
Pat the chicken pieces completely dry with paper towels—any excess moisture will prevent the coating from adhering properly. Working with one piece at a time, dredge the chicken in flour, shaking off excess, then dip in the beaten egg, letting excess drip off, and finally coat thoroughly in the seasoned breadcrumb mixture. Press gently to help the coating stick, ensuring each piece is completely covered.
Arrange the coated chicken pieces on the prepared baking sheet, making sure they’re not touching—overcrowding will cause them to steam rather than crisp. Lightly spray the tops with cooking spray or drizzle with olive oil. This small amount of fat helps achieve that golden, crispy exterior that rivals deep-fried versions.
Bake for 15-20 minutes, flipping the pieces halfway through, until the coating is golden brown and the internal temperature reaches 165°F. The exact timing depends on the size of your chicken pieces, so start checking at 15 minutes. The coating should be crispy and the chicken should feel firm when gently pressed.
While the chicken bakes, make the sesame sauce. In a small saucepan, whisk together the soy sauce, honey, rice vinegar, brown sugar, sesame oil, minced garlic, minced ginger, and red pepper flakes (if using). Bring the mixture to a simmer over medium heat, stirring occasionally.
In a small bowl, whisk the cornstarch with the water until smooth to create a slurry. This will thicken the sauce to the perfect consistency for coating the chicken. Add the cornstarch slurry to the simmering sauce, whisking constantly, and cook for 1-2 minutes until the sauce thickens and becomes glossy. It should coat the back of a spoon but still be pourable.
Remove the sauce from heat and taste for seasoning. You might want to add more honey for sweetness, vinegar for tang, or red pepper flakes for heat. The sauce should have a good balance of sweet, salty, and tangy flavors with that distinctive sesame note.
Once the chicken is done baking, you can either drizzle the sauce over individual servings or toss all the chicken with the sauce for full coverage. If you prefer extra-saucy chicken, reserve some sauce on the side for serving.
Flavor & Texture Notes
This healthy sesame chicken achieves that perfect combination of textures that makes the dish so addictive. The panko coating becomes beautifully golden and crispy in the oven, creating a satisfying crunch that gives way to tender, juicy chicken underneath. The sesame seeds in the coating add extra nutty flavor and a delicate crunch that enhances the overall texture experience.
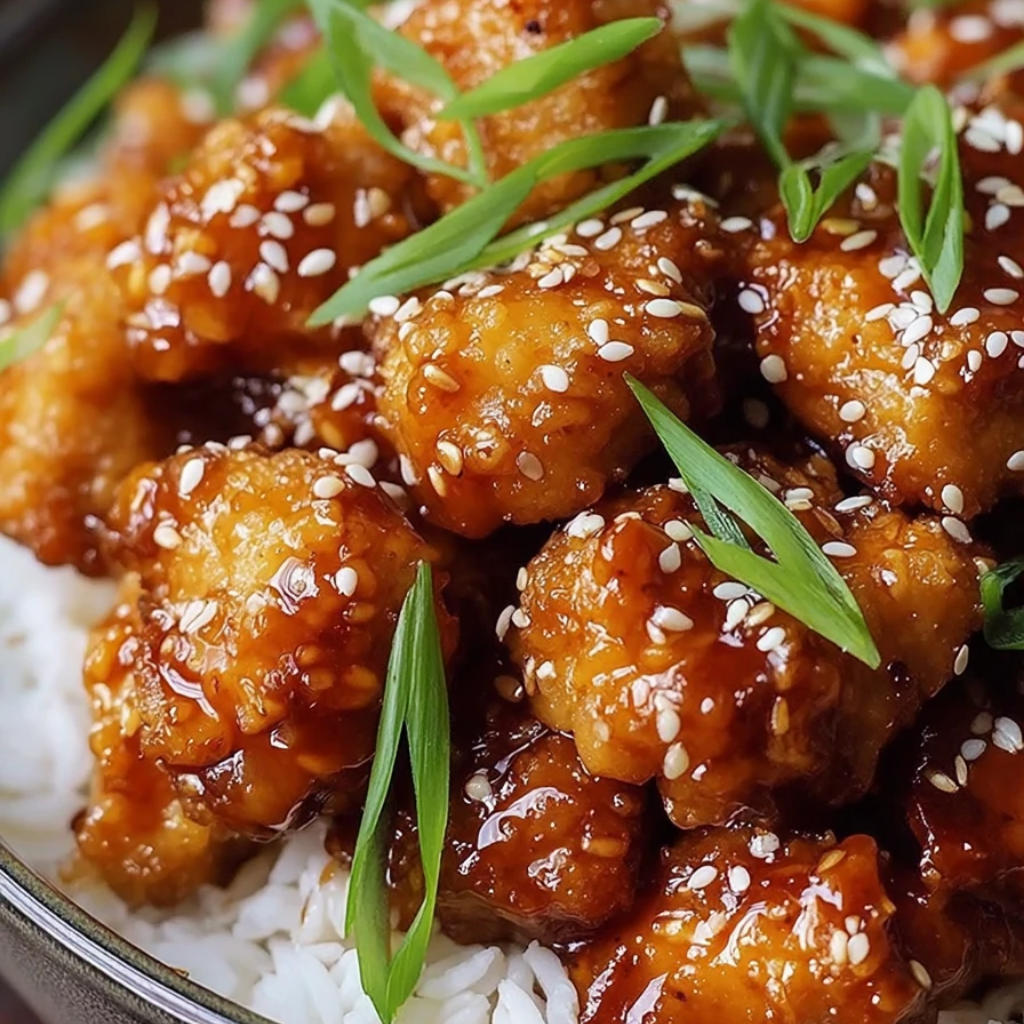
The sauce strikes an ideal balance between sweet and savory, with honey providing natural sweetness that’s less cloying than the corn syrup typically used in restaurant versions. The rice vinegar adds bright acidity that cuts through the richness, while the sesame oil delivers that distinctive nutty flavor that makes sesame chicken so recognizable and crave-worthy.
Fresh ginger and garlic in the sauce provide aromatic depth and a slight warmth that prevents the sweetness from becoming one-dimensional. The sauce has a glossy, clingy consistency that coats each piece of chicken perfectly without being thick or gummy. When you bite into a piece, you get the initial crunch of the coating, followed by the sweet-tangy sauce, and finally the tender, well-seasoned chicken.
The overall flavor profile is complex and satisfying—familiar enough to scratch that takeout craving but fresh and bright enough that you won’t feel heavy or sluggish after eating it. Each component contributes to a harmonious whole that proves healthy versions can be just as satisfying as their indulgent counterparts.
Tips & Variations
Coating Alternatives: For an even healthier version, try using crushed cornflakes or whole wheat panko instead of regular breadcrumbs. Almond flour can replace some of the wheat flour for a lower-carb option, though the texture will be slightly different.
Protein Swaps: This coating and sauce work beautifully with other proteins. Try it with firm tofu cubes, shrimp, or even cauliflower florets for a vegetarian version. Adjust cooking times accordingly—shrimp needs only 8-10 minutes, while cauliflower might need 25-30 minutes.
Sauce Modifications: For a sugar-free version, substitute the honey and brown sugar with stevia or monk fruit sweetener to taste. You can also use pure maple syrup for a different flavor profile. Adding a tablespoon of orange juice creates a citrusy twist that’s particularly good with the sesame flavors.
Spice Level: Increase the red pepper flakes or add a teaspoon of sriracha to the sauce for more heat. For a milder version suitable for kids, omit the red pepper flakes entirely and let adults add hot sauce at the table.
Make It Gluten-Free: Use gluten-free flour and gluten-free panko breadcrumbs, and substitute tamari or coconut aminos for the soy sauce. The flavor remains virtually identical while accommodating dietary restrictions.
Air Fryer Method: If you have an air fryer, cook the breaded chicken at 375°F for 12-15 minutes, shaking the basket halfway through. This method can yield even crispier results with no oil needed.
Storage & Make-Ahead
The breaded chicken can be prepared up to 4 hours ahead and stored in the refrigerator before baking—just cover the baking sheet with plastic wrap. This makes it perfect for meal prep or entertaining. The coating stays crispy better when baked fresh, but day-old chicken can be reheated in a 375°F oven for 5-8 minutes to restore some crispiness.
The sesame sauce can be made up to a week in advance and stored in the refrigerator. It will thicken as it cools, so you may need to thin it with a tablespoon of water when reheating. Gently warm the sauce in a saucepan over low heat, stirring frequently.
Cooked sesame chicken keeps in the refrigerator for up to 4 days, though the coating will lose some crispiness. For best results, store the chicken and sauce separately, then combine when reheating. The chicken reheats well in the oven at 350°F for 8-10 minutes.
This dish freezes reasonably well for up to 2 months. Freeze the cooked chicken and sauce separately, then thaw overnight in the refrigerator before reheating. The texture won’t be quite as crispy as fresh, but it’s still delicious and convenient for busy nights.
Serving Suggestions
Serve this healthy sesame chicken over brown rice for added fiber and nutrients, or try cauliflower rice for an even lighter option. The nutty flavor of brown rice actually complements the sesame beautifully, while cauliflower rice keeps the focus on the chicken and sauce.
Steam some broccoli, snap peas, or bok choy to serve alongside for extra vegetables and color contrast. The mild, fresh flavors of these greens balance the rich, sweet sauce perfectly. For a complete meal, add some shredded carrots or sliced bell peppers for crunch and additional nutrients.
Garnish with sliced green onions and additional sesame seeds for visual appeal and fresh flavor. A sprinkle of cilantro can add brightness, though it’s not traditional. Serve with chopsticks if you want the full takeout experience, or just enjoy it with regular utensils.
For entertaining, consider serving this as part of an Asian-inspired spread with steamed dumplings, cucumber salad, or miso soup. The sweet and savory flavors pair well with light, fresh accompaniments that don’t compete with the main dish.
FAQ
Will this really be as crispy as fried chicken? While it won’t be identical to deep-fried chicken, the panko coating and high oven heat create a surprisingly crispy exterior that satisfies that textural craving. The key is making sure your oven is fully preheated, not overcrowding the baking sheet, and using the cooking spray or oil to help with browning.
Can I make this without eggs? Yes! You can substitute the eggs with buttermilk, plain yogurt thinned with a little milk, or even just milk for the binding step. For a vegan version, try unsweetened plant milk mixed with a tablespoon of ground flaxseed, which acts as a natural binder.
How do I keep the coating from falling off? Make sure the chicken is completely dry before breading, and press the coating firmly onto each piece. Let the breaded chicken rest for 10-15 minutes before baking if possible—this helps the coating adhere better. Also, avoid moving the pieces too much during baking.
Is the sauce supposed to be this thick? The sauce should be thick enough to coat the chicken nicely but not so thick that it’s gummy. It should have a consistency similar to maple syrup—pourable but substantial. If it’s too thick, thin it with a little water or chicken broth. If too thin, simmer it a bit longer.
Can I double the recipe? Absolutely! You may need to use two baking sheets to avoid overcrowding, and you might need to rotate them halfway through baking for even cooking. The sauce recipe doubles perfectly as well. Just make sure each piece of chicken has enough space to get crispy.
The best part about making your own healthier version of takeout favorites is discovering that you’re not really sacrificing anything—you’re just being smarter about how you get those flavors and textures you love. This sesame chicken proves that crispy, sweet, and satisfying doesn’t have to mean deep-fried and loaded with processed ingredients. Once you taste how bright and fresh this version is, you might find yourself preferring it to the restaurant original. Give it a try, and prepare to have your takeout nights transformed.