Follow Me On Social Media!

Fluffy Cloud Bread Recipe: The 3-Ingredient Low-Carb Wonder.

I first stumbled across cloud bread during one of those late-night internet rabbit holes we all know too well. A friend had mentioned this “magical bread” that was basically just eggs and cream cheese, and honestly, I was skeptical. How could something so simple actually taste good? But after my first bite of that impossibly light, airy creation, I understood the hype. Cloud bread isn’t trying to be regular bread – it’s something entirely different and wonderful in its own right.
This low-carb bread alternative has become a staple in my kitchen, especially when I’m craving something bread-like but want to keep things light. The beauty of cloud bread lies in its simplicity and versatility. Whether you’re following a ketogenic diet, cutting back on gluten, or just curious about trying something new, this recipe delivers a satisfying result with minimal effort. The texture is somewhere between a soufflé and the fluffiest dinner roll you’ve ever had, with a subtle tanginess from the cream cheese that makes it surprisingly complex for such a simple recipe.
What makes cloud bread special isn’t just what it lacks – no flour, no yeast, no complicated rising times – but what it brings to the table. It’s a blank canvas that pairs beautifully with both sweet and savory toppings, and the preparation process is almost meditative in its simplicity. You’ll find yourself making batch after batch once you master the technique.
Ingredients
The magic of cloud bread happens with just three core ingredients, though a few optional additions can enhance the flavor and texture:
Essential Ingredients:
- 3 large eggs, separated and at room temperature
- 3 tablespoons cream cheese, softened
- 1/8 teaspoon cream of tartar (or 1/4 teaspoon lemon juice)
Optional Flavor Enhancers:
- 1/2 teaspoon garlic powder (for savory cloud bread)
- 1 tablespoon honey or maple syrup (for sweet versions)
- 1/4 teaspoon dried herbs like rosemary or thyme
- Pinch of sea salt
- 1/2 teaspoon vanilla extract (for sweet preparations)
The quality of your eggs makes a noticeable difference here. Fresh, room-temperature eggs whip up much better than cold ones straight from the refrigerator. If you forget to take them out ahead of time, place the whole eggs in a bowl of warm water for about 10 minutes to bring them to temperature quickly.
Instructions
Creating perfect cloud bread is all about technique, particularly when it comes to handling the egg whites. The process might seem straightforward, but a few key steps will make the difference between success and disappointment.
Step 1: Prepare Your Workspace Preheat your oven to 300°F (150°C) and line a large baking sheet with parchment paper. Make sure your mixing bowls are completely clean and dry – even a tiny bit of grease or moisture can prevent the egg whites from whipping properly. I learned this the hard way after wondering why my first batch turned out flat.
Step 2: Separate the Eggs Carefully separate your eggs, placing the whites in a large, clean mixing bowl and the yolks in a smaller bowl. Take your time with this step. If even a small amount of yolk gets into the whites, they won’t whip up properly. I keep a third small bowl handy to crack each egg into first, then transfer the white to the main bowl – it’s insurance against accidents.
Step 3: Prepare the Base Mixture Add the softened cream cheese to the bowl with your egg yolks. Using a fork or small whisk, mash and mix until the mixture is smooth and well combined. This base provides the structure and tang that makes cloud bread special. If your cream cheese is too firm, microwave it for 10-15 seconds to soften it up.
Step 4: Whip the Egg Whites Add the cream of tartar to your egg whites and begin whipping with an electric mixer on medium speed. Gradually increase to high speed as the whites begin to foam. You’re looking for stiff peaks that hold their shape when you lift the beaters. This usually takes 3-4 minutes with a good electric mixer. The whites should look glossy and smooth, not grainy or separated.
Step 5: Combine Gently Here’s where technique really matters. Add about one-third of the whipped egg whites to your cream cheese mixture and fold gently with a spatula to lighten the base. Then, add this lightened mixture back to the remaining egg whites and fold carefully, using a gentle motion from the bottom up and over. You want to maintain as much air as possible while ensuring everything is evenly combined.
Step 6: Shape and Bake Spoon the mixture onto your prepared baking sheet, creating 6-8 rounds about 3 inches in diameter. Don’t worry about making them perfectly uniform – part of cloud bread’s charm is its rustic, homemade appearance. Bake for 28-30 minutes, until the tops are golden brown and the bread springs back lightly when touched.
Step 7: Cool Properly Let the cloud bread cool on the baking sheet for at least 10 minutes before handling. They’ll be quite delicate when hot but firm up nicely as they cool. Resist the urge to peek too often during baking, as temperature fluctuations can cause them to deflate.
Flavor & Texture Notes
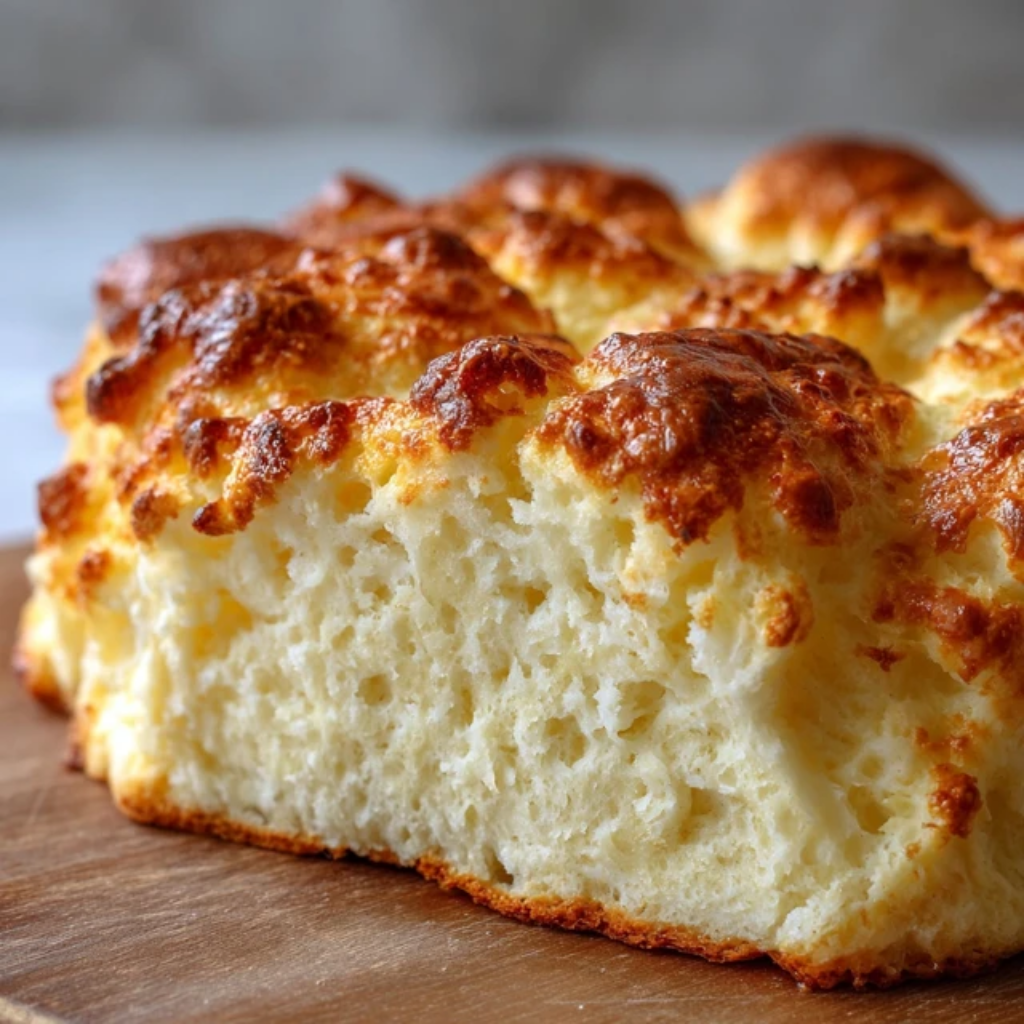
Cloud bread has a unique character that sets it apart from traditional bread. The texture is remarkably light and airy, almost like eating a savory meringue or a very tender biscuit. When you bite into it, there’s a gentle give that’s both satisfying and surprising. The interior has a slightly custard-like quality thanks to the egg yolks, while the exterior develops a pale golden crust that adds a pleasant contrast.
The flavor profile is subtly tangy from the cream cheese, with a clean egg taste that isn’t overwhelming. It’s mild enough to work with both sweet and savory applications, but distinctive enough to be interesting on its own. The tanginess becomes more pronounced as the bread cools, developing complexity that makes each bite slightly different from regular bread.
What strikes most people first is how satisfying cloud bread feels despite its lightness. There’s something about the texture that registers as substantial and filling, even though you’re essentially eating flavored air held together by protein. The chewiness is gentle and pleasant, never tough or rubbery when made correctly.
Tips & Variations
The basic cloud bread recipe is forgiving, but these tips will help you achieve consistent results and explore creative possibilities.
Temperature Matters: Room temperature ingredients mix more easily and create better texture. Cold eggs don’t whip as well, and cold cream cheese creates lumps that are hard to smooth out. Plan ahead and let everything come to room temperature for the best results.
Flavor Variations: For a savory version, try adding garlic powder, dried herbs, or a pinch of onion powder to the cream cheese mixture. Sweet variations work beautifully with a touch of vanilla extract and a drizzle of honey. I’ve had great success with everything bagel seasoning sprinkled on top before baking.
Size and Shape Flexibility: While traditional cloud bread is made in individual rounds, you can also spread the mixture into one large rectangle and cut it into squares after baking. This works well if you’re planning to use it for sandwiches or want more uniform pieces.
Dairy Alternatives: Greek yogurt can substitute for cream cheese in a 1:1 ratio, though the flavor will be slightly different and the texture a bit denser. Mascarpone creates an even richer version, while cottage cheese (blended smooth first) makes a lighter, more protein-packed option.
Timing Adjustments: If your cloud bread is browning too quickly, reduce the oven temperature to 275°F and extend the baking time by 5-10 minutes. Every oven behaves differently, so don’t hesitate to adjust based on what you observe.
Storage & Make-Ahead
Cloud bread is best enjoyed fresh from the oven when its texture is at its peak, but proper storage can extend its life significantly. Once completely cooled, store the rounds in an airtight container in the refrigerator for up to three days. The texture will change slightly – becoming a bit denser and more cake-like – but they’ll still be perfectly good to eat.
For longer storage, cloud bread freezes surprisingly well. Wrap individual pieces in plastic wrap and place them in a freezer bag for up to one month. Thaw at room temperature for about 20 minutes, or toast them lightly from frozen for a slightly crispy exterior.
If you want to prep ahead, you can make the cream cheese and egg yolk mixture the night before and store it covered in the refrigerator. Just bring it back to room temperature before folding in the whipped whites. However, don’t whip the egg whites ahead of time – they need to be used immediately for the best rise and texture.
Leftover cloud bread makes excellent toast. A minute or two in the toaster brings back some of that fresh-baked texture and adds a pleasant crispiness to the outside while keeping the interior soft.
Serving Suggestions
Cloud bread’s versatility makes it suitable for any meal of the day. For breakfast, try it toasted with a smear of almond butter and sliced strawberries, or go savory with avocado and a sprinkle of everything bagel seasoning. The mild flavor pairs wonderfully with both sweet and savory toppings without competing for attention.
As a lunch base, cloud bread makes surprisingly good sandwich bread. It holds up well to lighter fillings like turkey and cheese or egg salad, though it’s not sturdy enough for heavy, wet ingredients. Keep your fillings relatively dry and not too thick, and you’ll have a satisfying low-carb sandwich option.
For dinner, cloud bread works beautifully alongside soups and salads. The bread’s ability to soak up flavors makes it perfect for dipping into broths or using as a vehicle for herb-infused olive oil. I particularly enjoy it with a bowl of tomato soup or a hearty vegetable stew.
Don’t overlook cloud bread’s potential as a dessert base. A sweet version made with vanilla and honey, then topped with fresh berries and a dollop of whipped cream, creates an elegant and light dessert that won’t leave you feeling heavy after dinner.
FAQ
Why didn’t my cloud bread rise properly? The most common culprit is under-whipped egg whites or oil contamination in your mixing bowl. Make sure your bowl and beaters are completely clean and dry, and whip the whites until they form stiff peaks that don’t fall when you turn the bowl upside down. Also, be gentle when folding – aggressive mixing deflates the air you’ve worked to incorporate.
Can I make cloud bread without cream of tartar? Yes, though cream of tartar helps stabilize the egg whites and creates better texture. If you don’t have it, use 1/4 teaspoon of lemon juice or white vinegar instead. In a pinch, you can skip it entirely, but your cloud bread might not be quite as tall or stable.
How do I know when cloud bread is done baking? Look for a golden brown color on top and a spring-back when you gently touch the surface. The bread should feel set but not hard. If it’s browning too quickly but still feels jiggly, lower your oven temperature and continue baking until it passes the touch test.
Why does my cloud bread taste too eggy? This usually happens when the egg whites are over-whipped or when the ratios are off. Make sure you’re using the correct number of eggs and that your cream cheese is properly incorporated. Adding a pinch of salt or some herbs can help balance the egg flavor if you find it too prominent.
Can I double this recipe? Absolutely. The recipe scales well, but you might need to work in batches depending on the size of your mixing bowl and baking sheets. Keep the ratios the same and be extra careful with your folding technique when working with larger quantities of egg whites.
This simple recipe opens up a world of possibilities for anyone looking to reduce carbs without sacrificing the comfort that bread brings to a meal. Cloud bread may not replace your favorite sourdough, but it offers something unique: a light, protein-rich alternative that’s genuinely enjoyable to eat. The next time you’re wondering what to do with those eggs in your refrigerator, give cloud bread a try. You might just discover your new favorite kitchen experiment.